Spreadsheet and Table
🧭 File Size Rule
Your file size limit for each uploaded document varies depending on your subscription plan. If you exceed the file upload limitation, you will receive an error message. Please reduce the size of your file before uploading again. Please refer to the File Size Rule for more information.
Overview
SeaChat provides many methods to upload files to your agent. We will focus on the Upload Spreadsheet method in this tutorial and by the end of the tutorial your SeaChat agent will have a customized knowledge base at your service.
Create a SeaChat Agent
If you don’t have a SeaChat account yet, you can sign up for free at SeaChat website! You can find all the information you need to create a knowledge-based AI agent in Create an Agent.
Open Knowledge Base
Find your agent’s knowledge base by navigating to the Knowledge Base dashboard under Agent Configuration in the sidebar menu. By choosing Upload Spreadsheet, you can upload a .csv or .xlsx file to your agent.
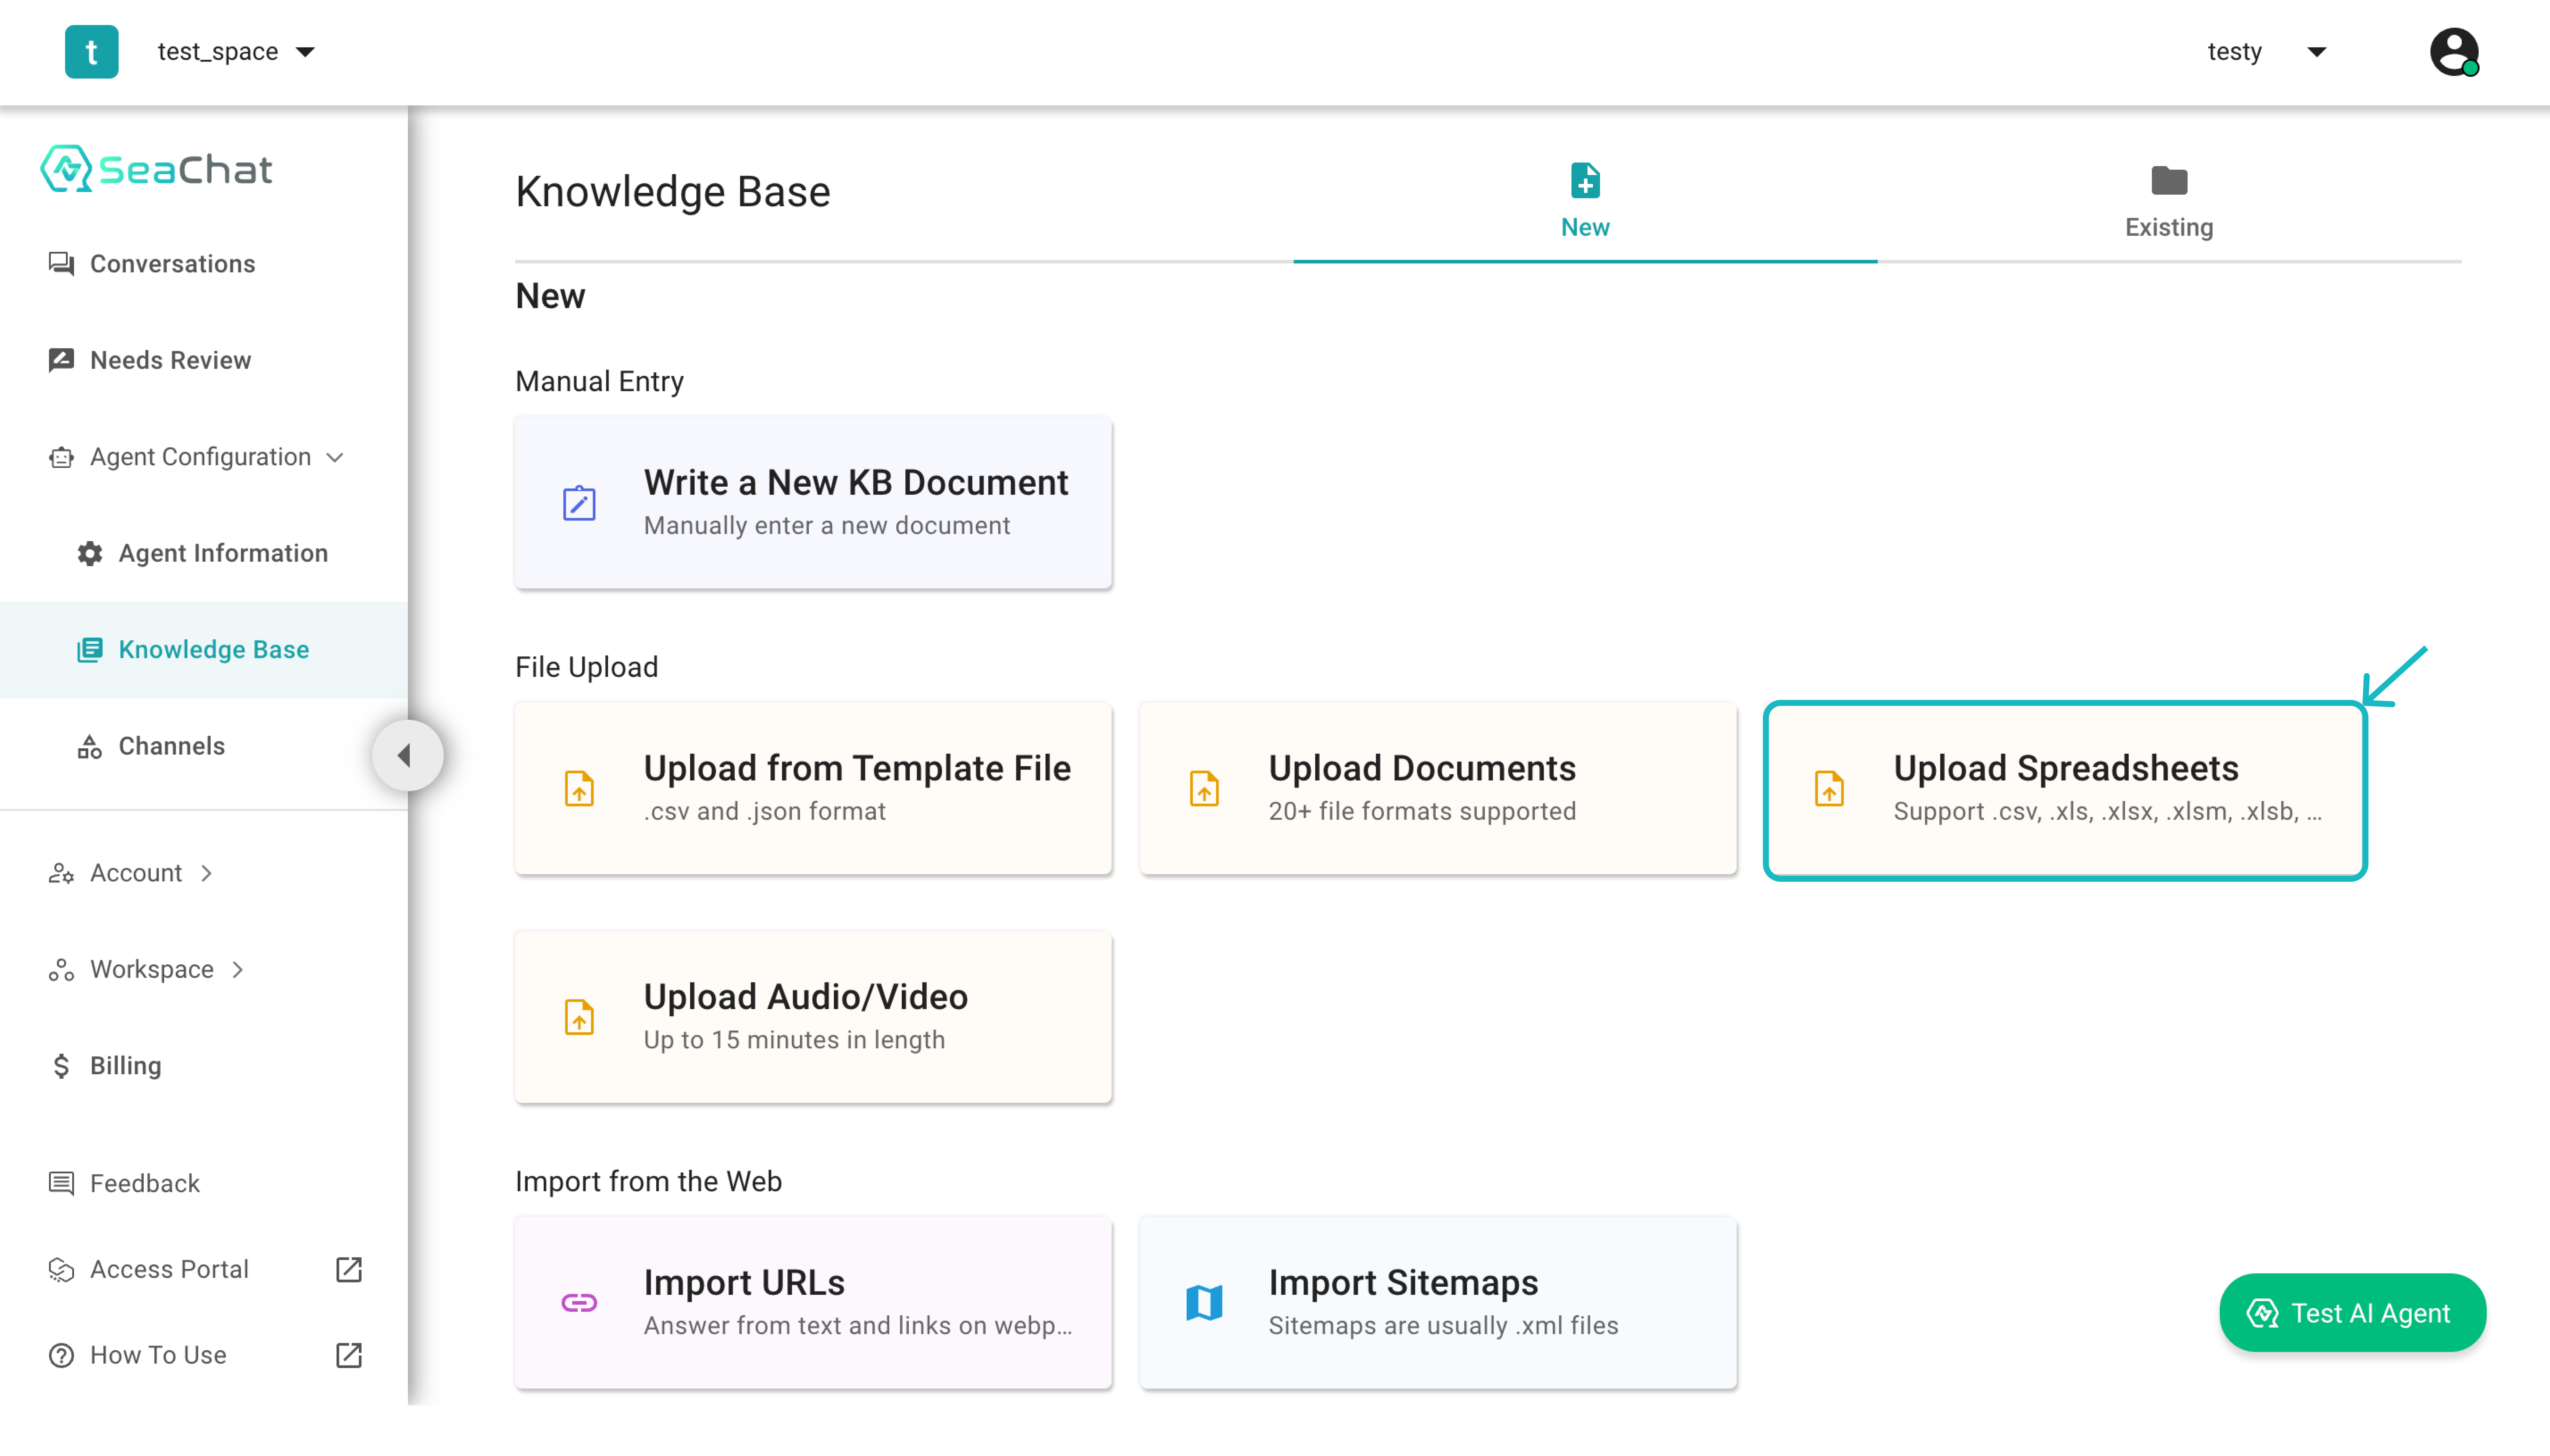
Knowledge Base Dashboard
Upload File
By clicking on the upload button, you can submit to your agent choosing from various file formats1. The file will be processed and the knowledge base will be updated accordingly once submitted.
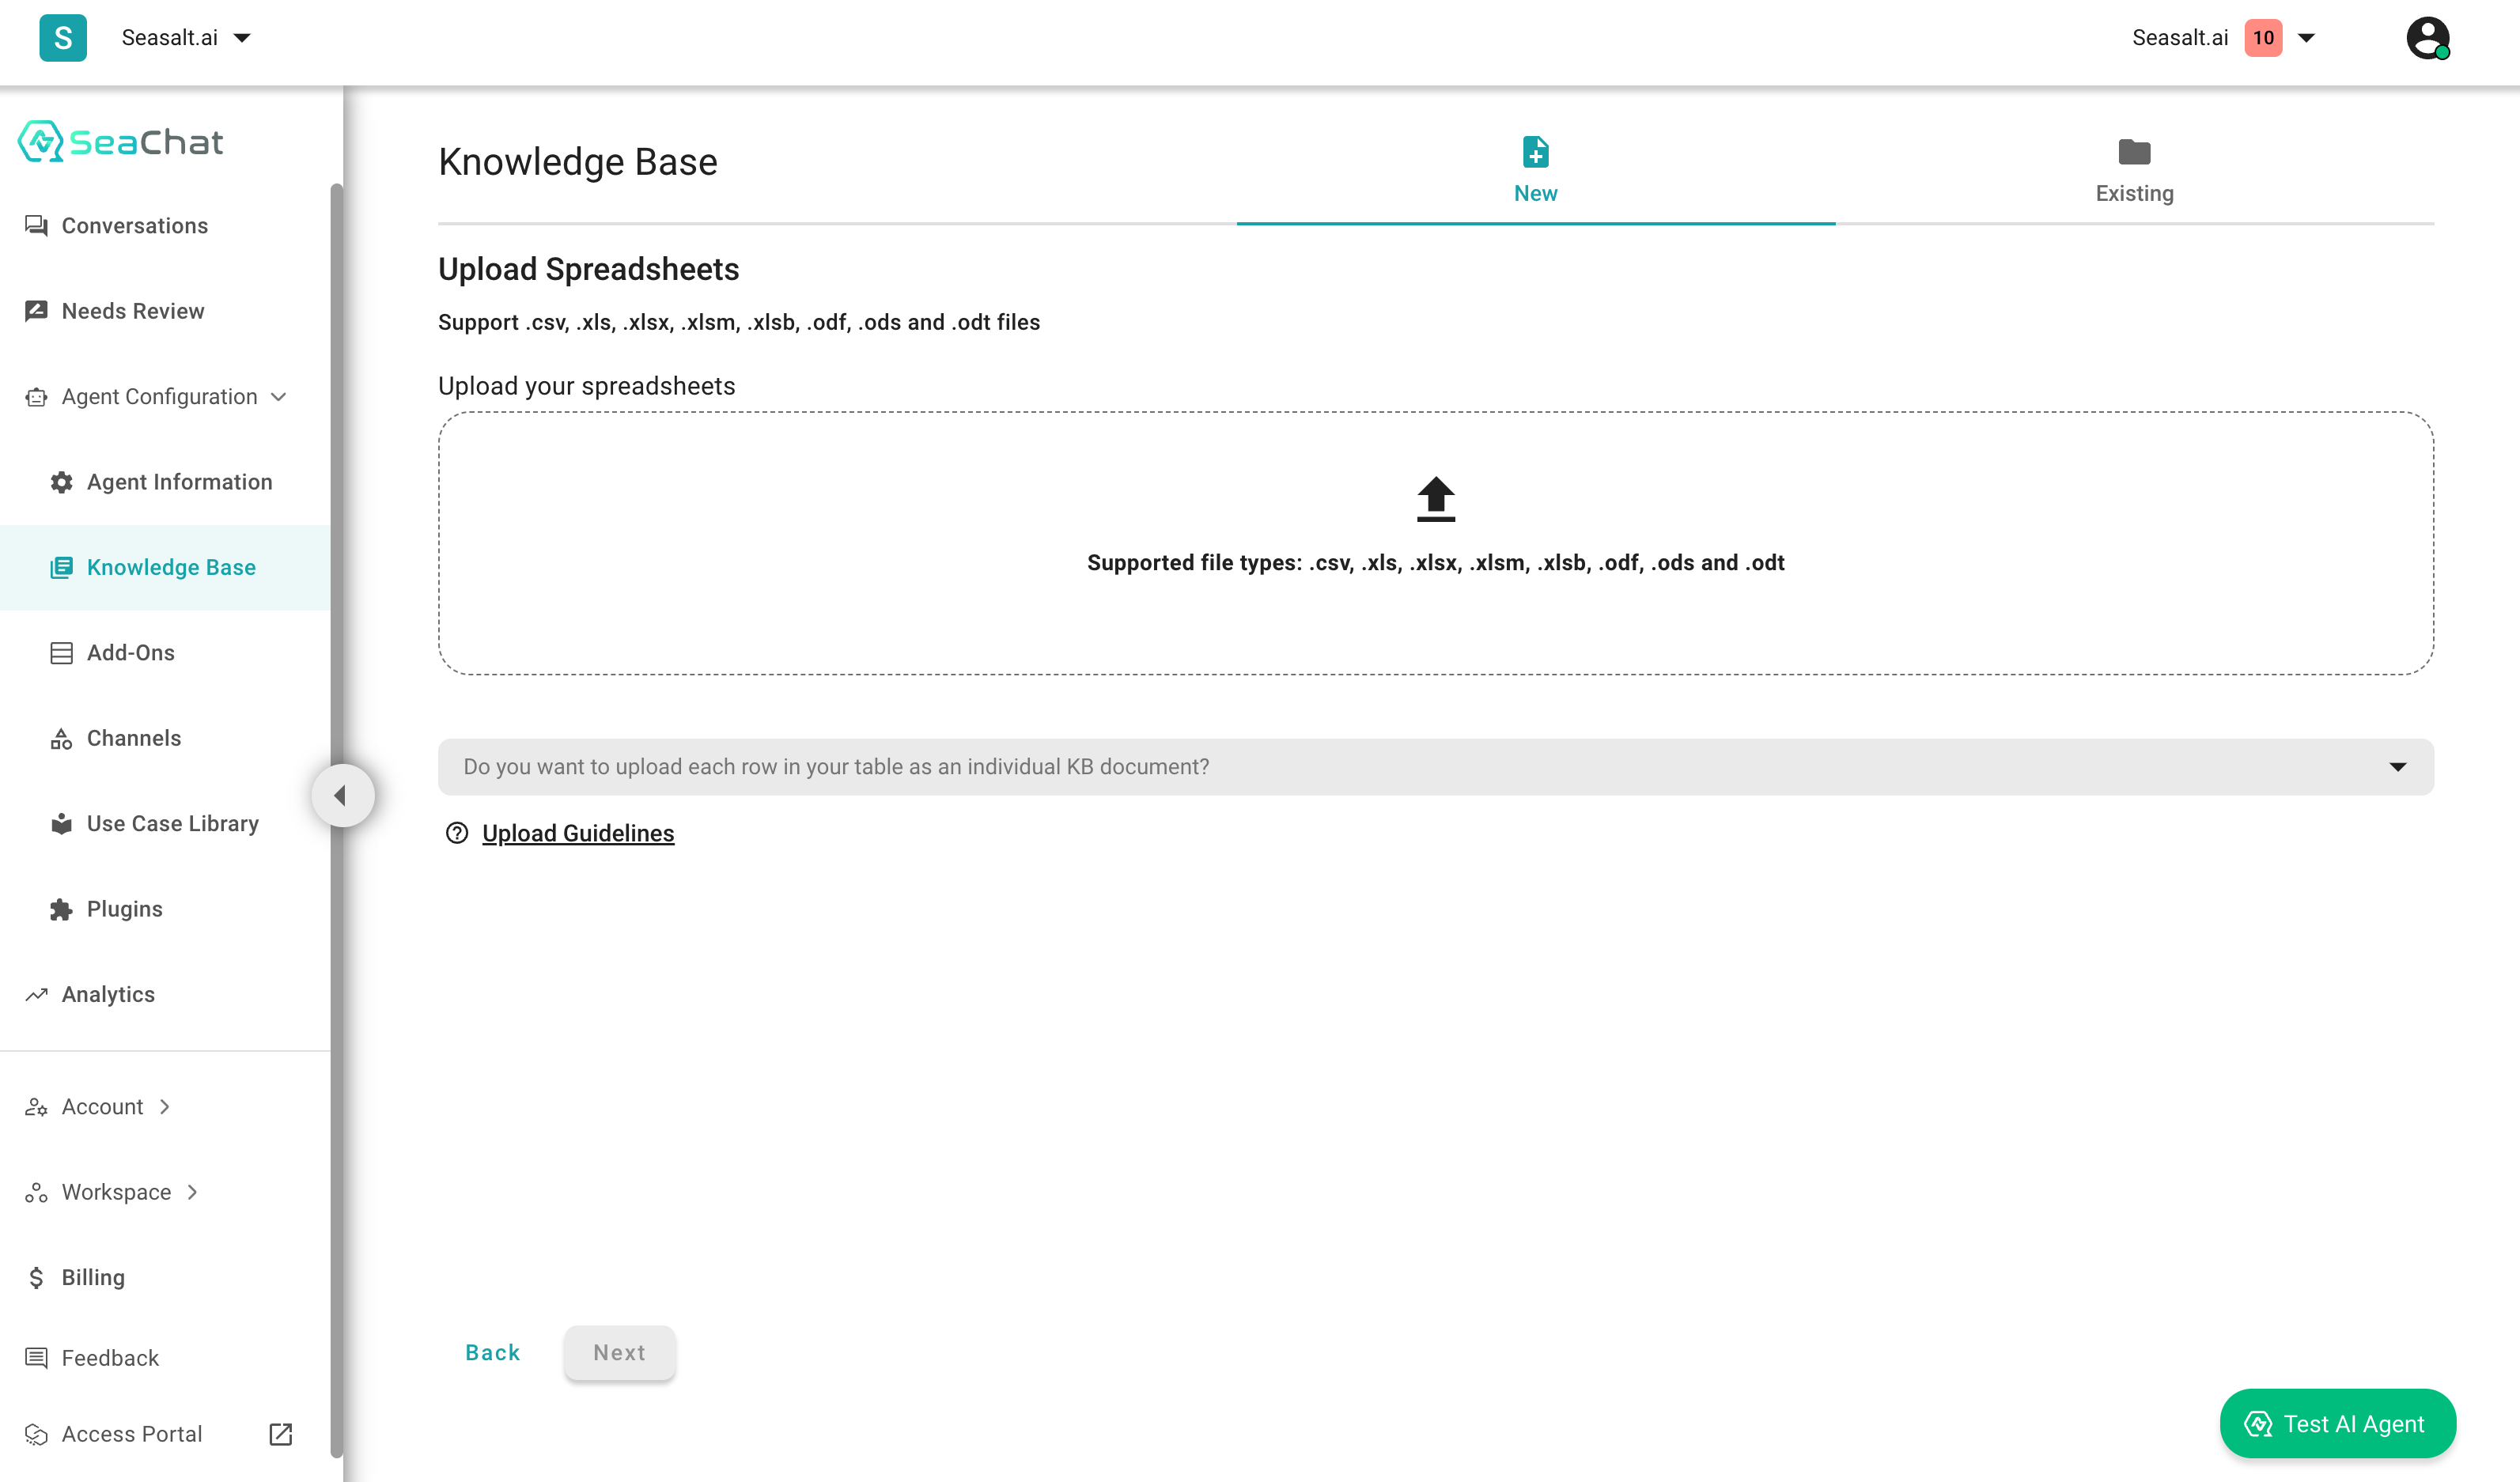
Click on Drag-and-Drop Zone to Upload
🚨 Note 🚨
Before uploading the file, check if the files meet the two following requirements:
- Your spreadsheet table must use the first row as the header. If your header is the first column, please transpose your table first.
- The content in any row may not exceed 2000 tokens. If your row exceeds this limit, please contact us!
Check Upload Guidelines for more information.
Choose Upload Mode
We now support two modes for uploading spreadsheets or tables to the knowledge base.
-
Upload each row in the table as a separate KB document: This is especially helpful when you have a table where each row contains a self-contained piece of information. For instance, if each row is about a product, we recommend choosing this option to store each product description separately in the knowledge base.
-
Upload the table as a single KB document: Use this option when the information in the entire table is interconnected. For example, if you have a table containing a full-day event schedule, we recommend uploading the entire table as a single KB document to ensure the AI agent learns about the entire schedule together during retrieval.

Choose the suitable upload mode for your spreadsheets
Before Submission
SeaChat allows users to upload in bulk. You can see the status of each uploading file in the section below the drag-and-drop zone. You can upload as many spreadsheet files as you wish and each file can have more than just one worksheet.
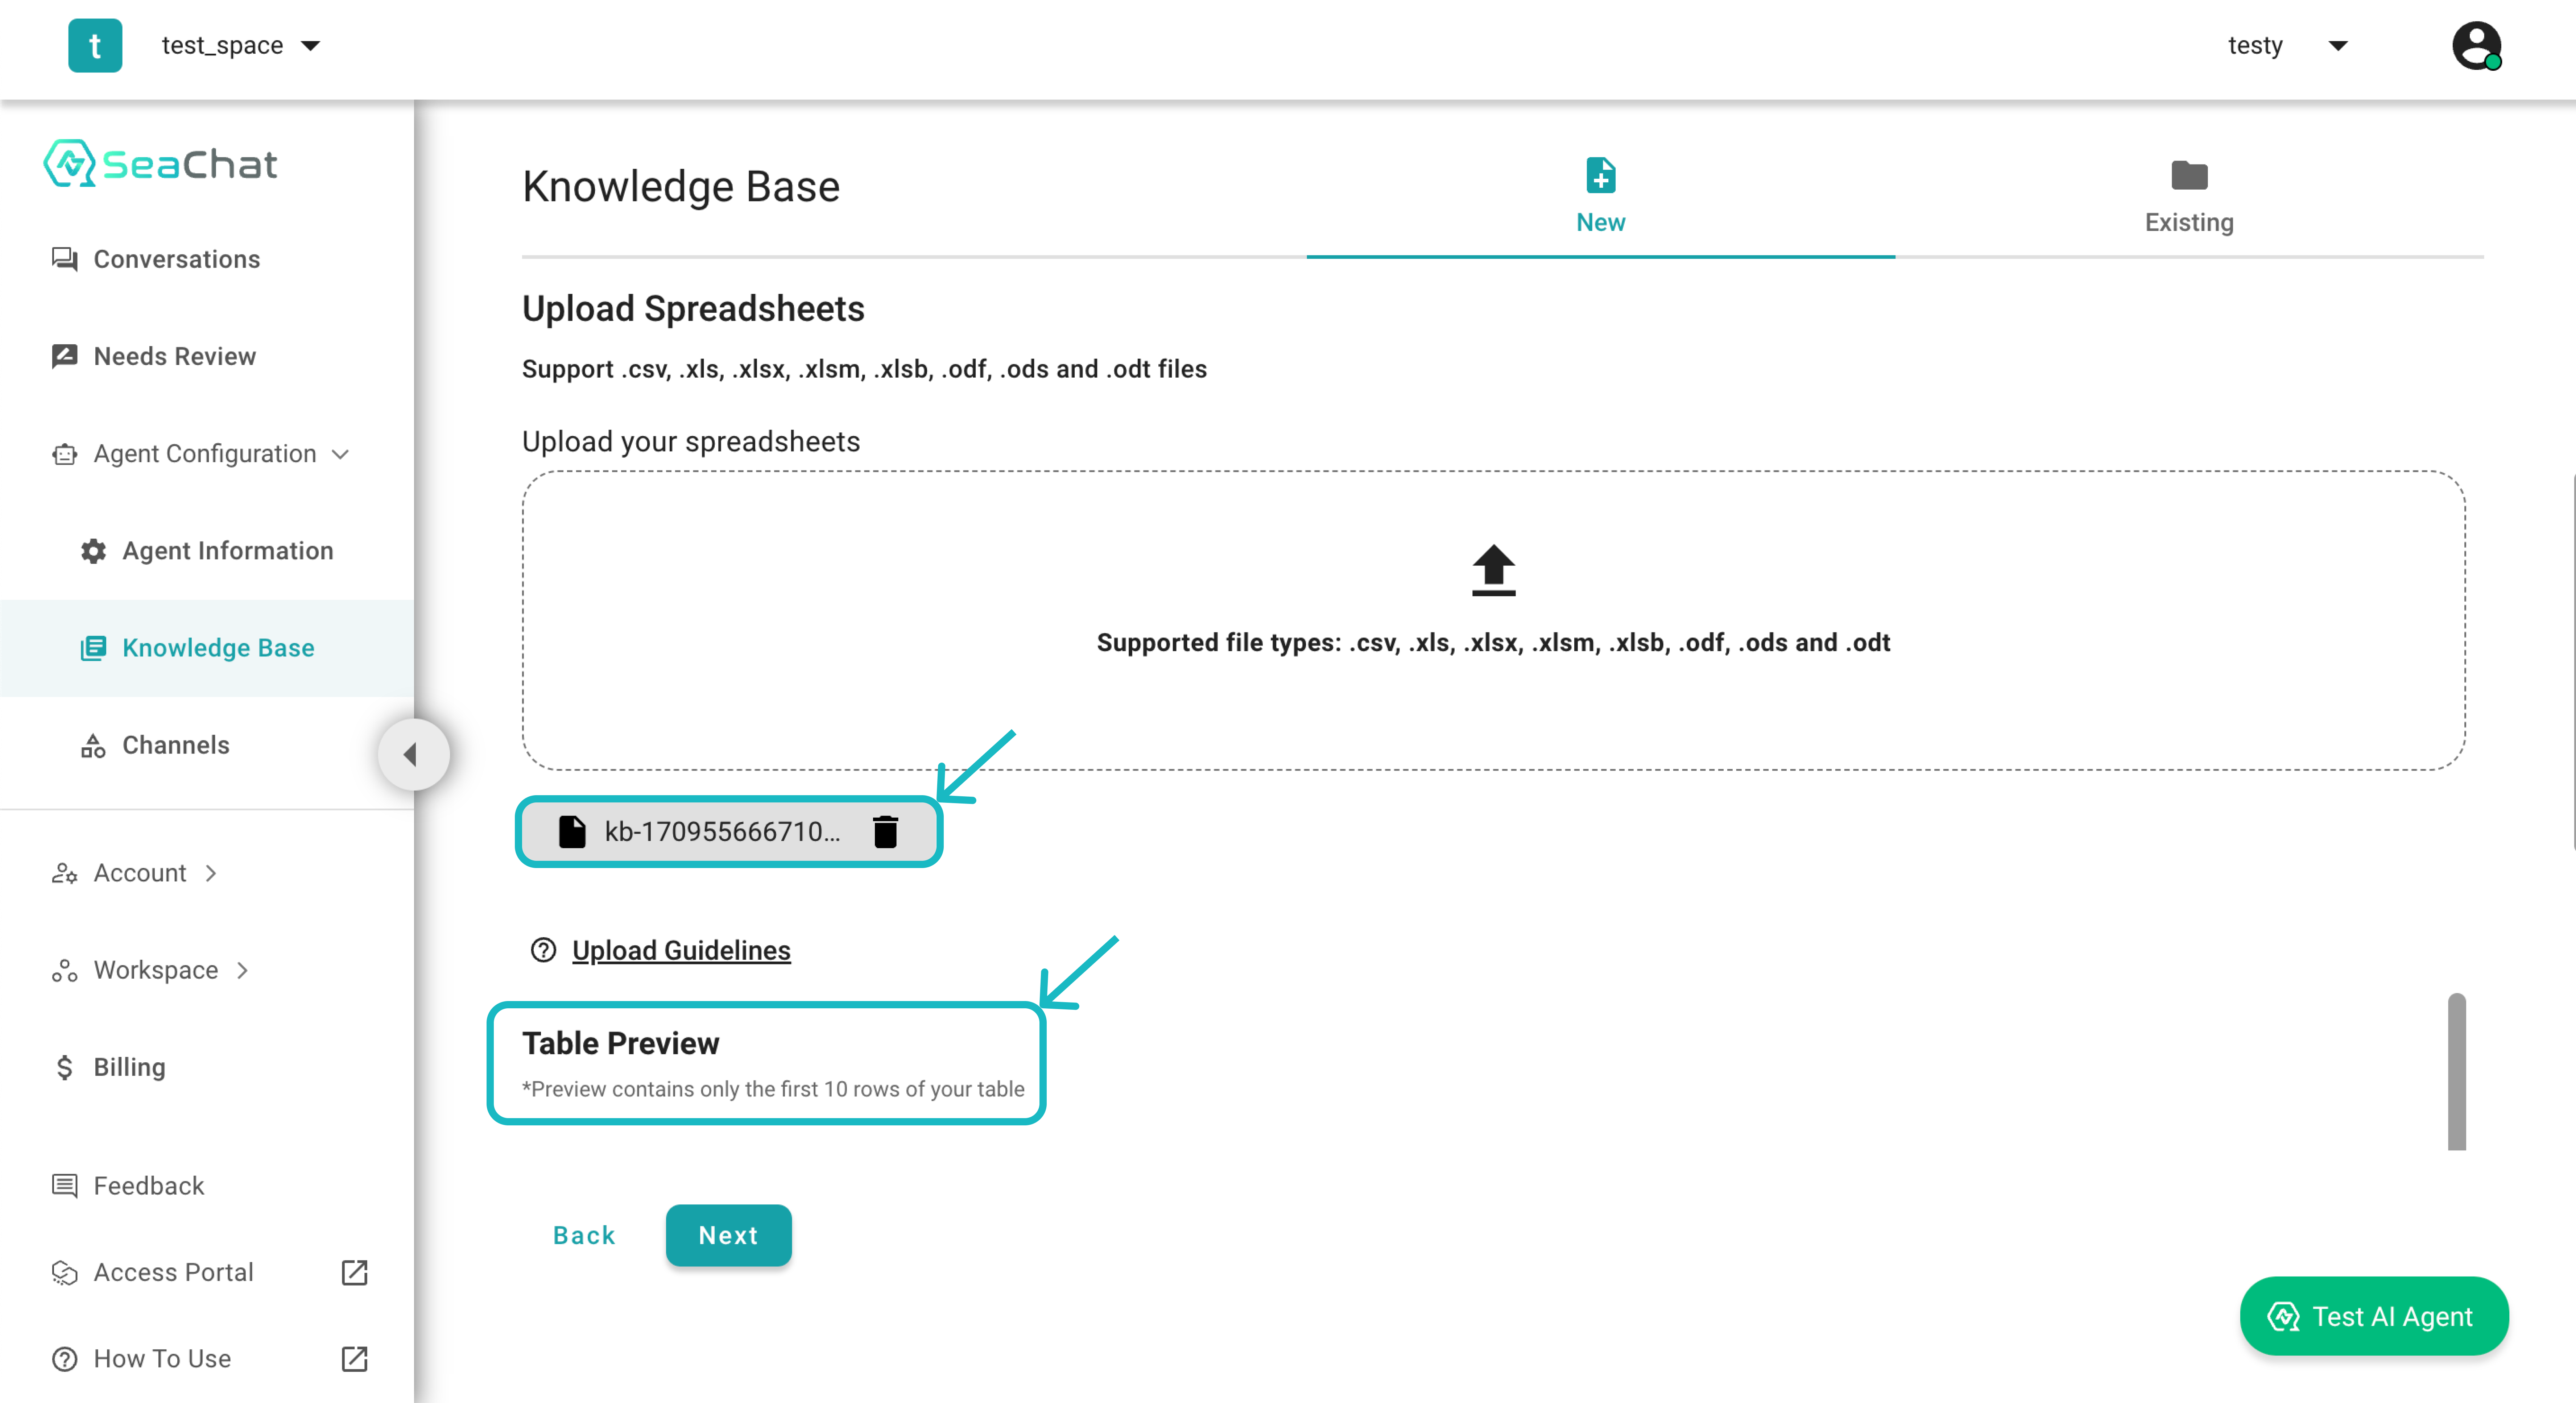
Uploading status
Scroll further down for the dedicated preview window that will list the first 10 rows of your spreadsheet. Once you have included all the files to be uploaded, you can upload them by clicking on the Next button.
🚧 Embedded Image in Excel
Currently, SeaChat does not support uploading images embedded in Excel files. If you wish to include image data, please upload the images separately to the specific knowledge that requires them.
For example, if you want to include an image to a card to a certain knowledge, you can still upload the Excel file first and then upload the image separately to the card knowledge.
Preview Example:

Submit to Existing Knowledge Base
Voilà! You have successfully customized your SeaChat agent with new knowledge. To view the files uploaded, you can navigate to the Existing section in the top-right corner of the page, where you can find the uploaded data waiting for you in the Files section.
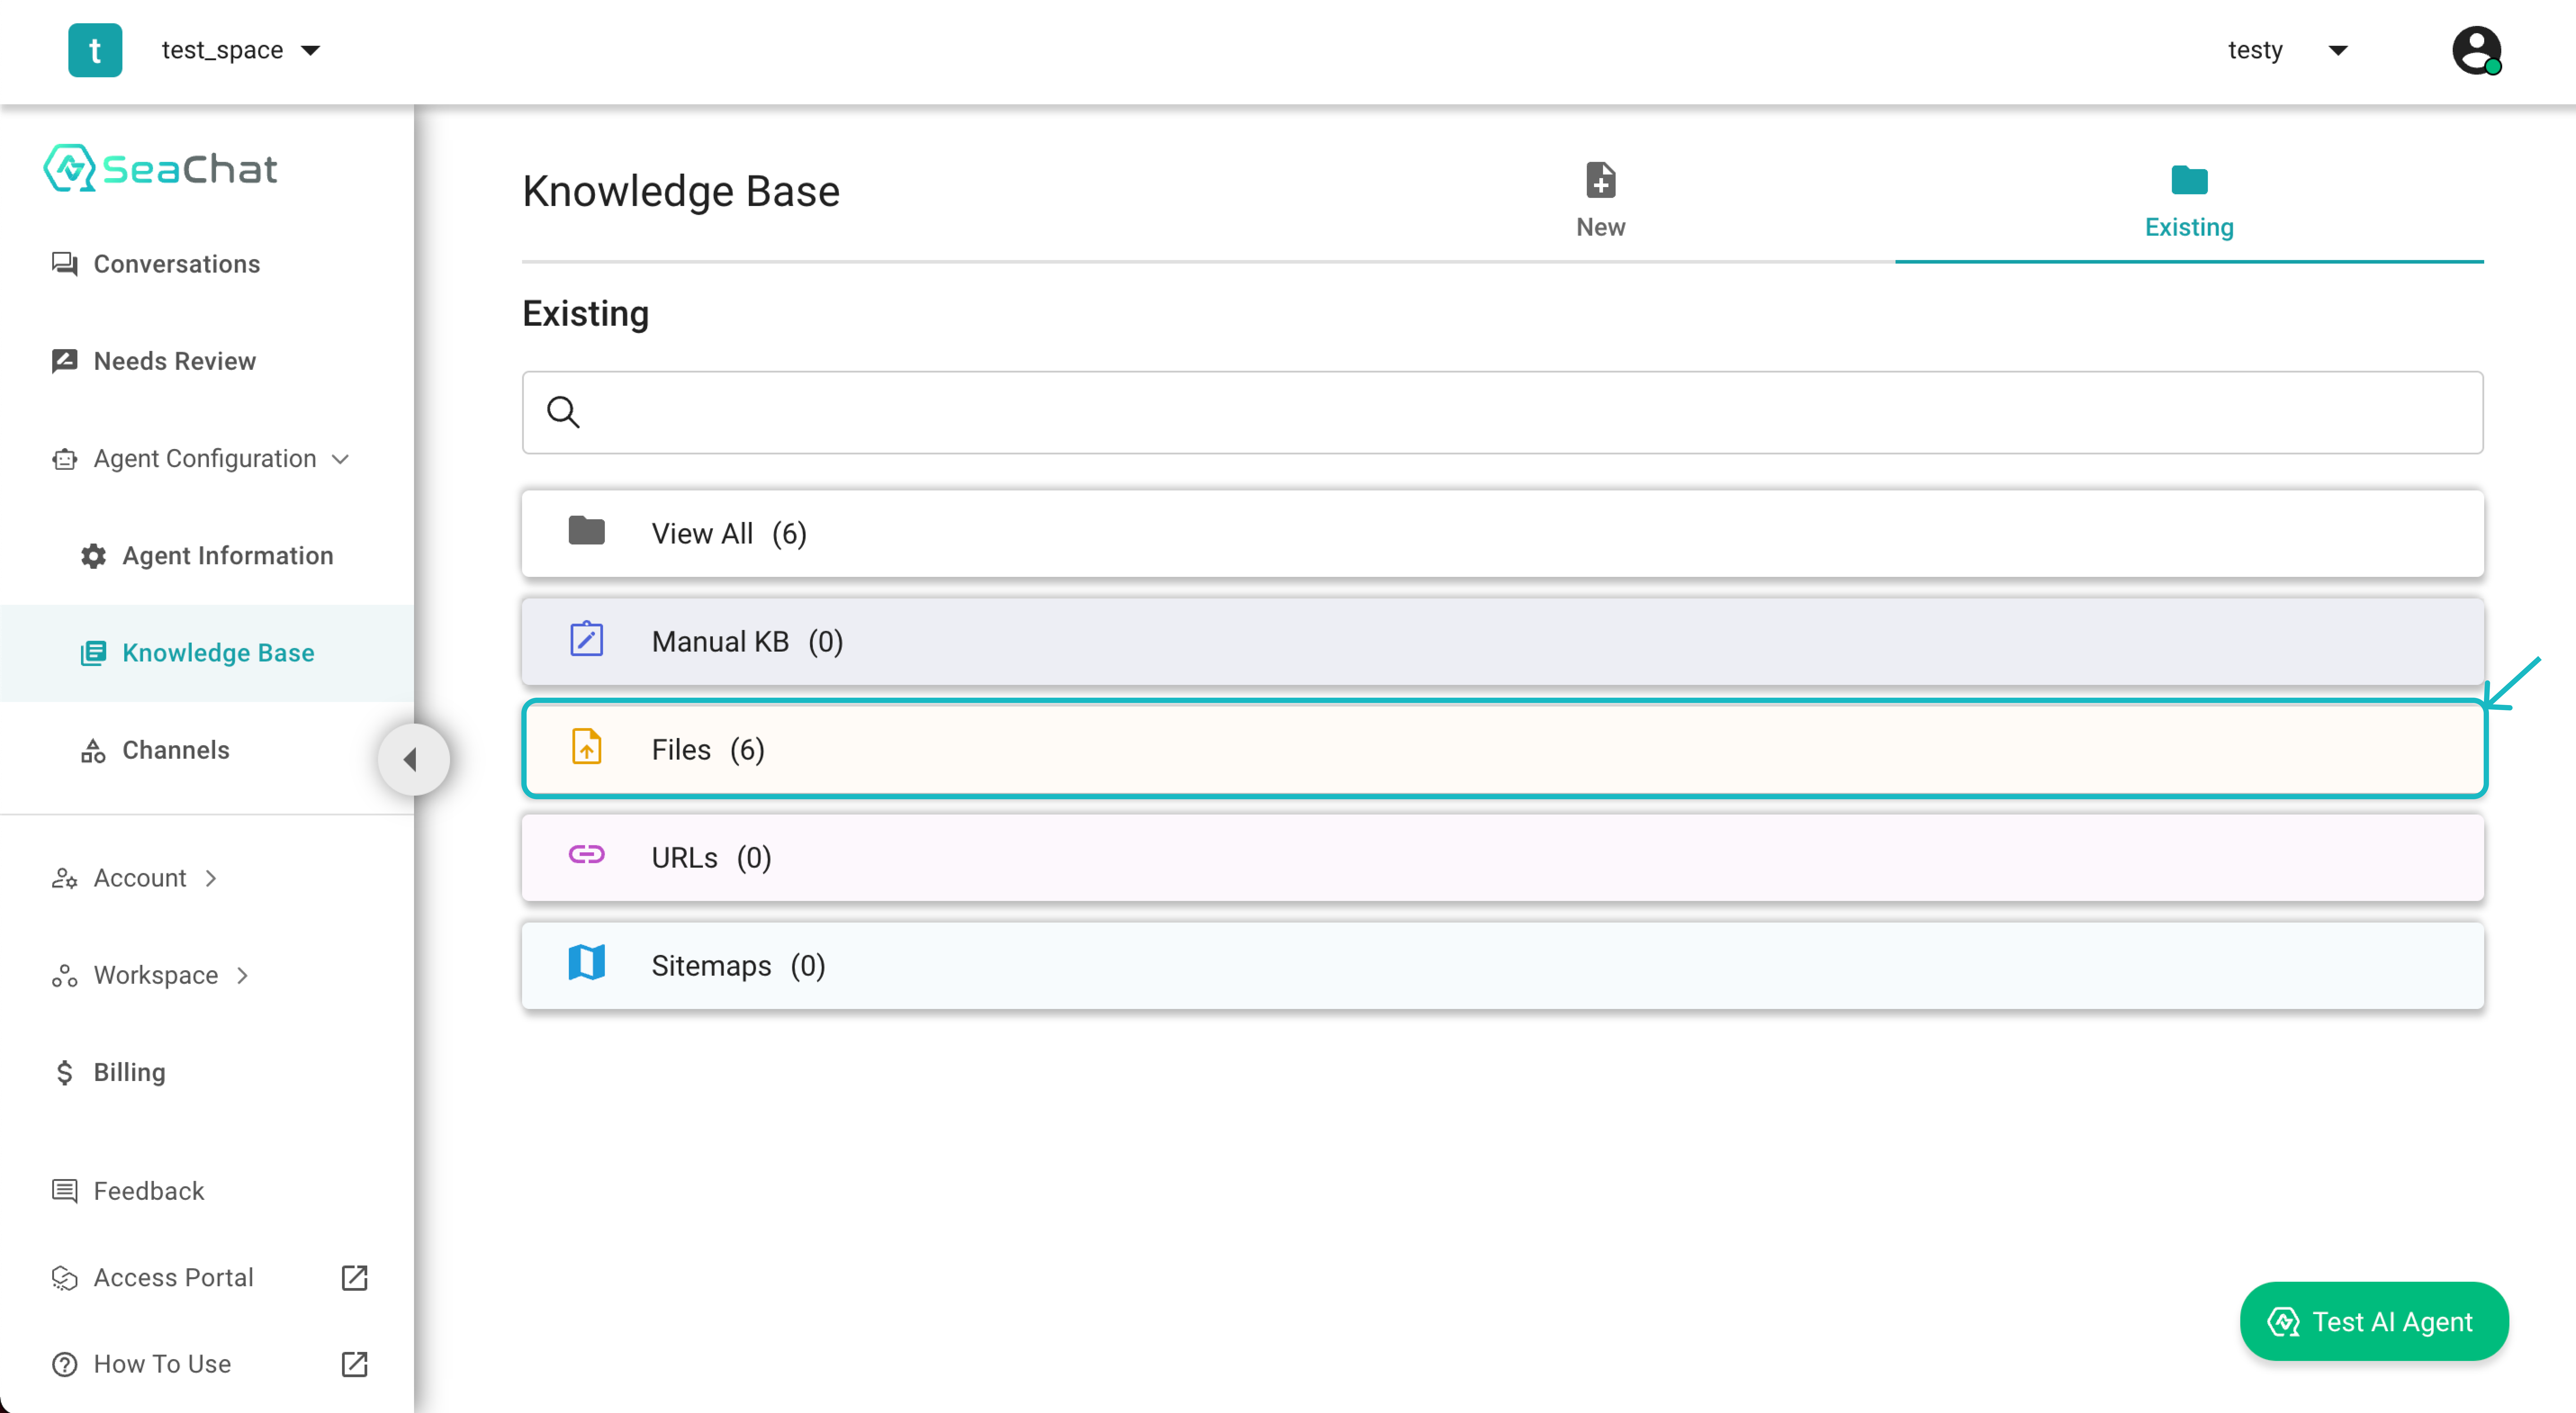
Look for Files in Existing
Review your Knowledge Base
Click on the file you just uploaded to review the content. That’s it! You have successfully uploaded a spreadsheet to your SeaChat agent. You can now use the knowledge base to test your agent. SeaChat provides additional settings to customize your knowledge base, we will continue to explore these features in the Advance section of the tutorial.
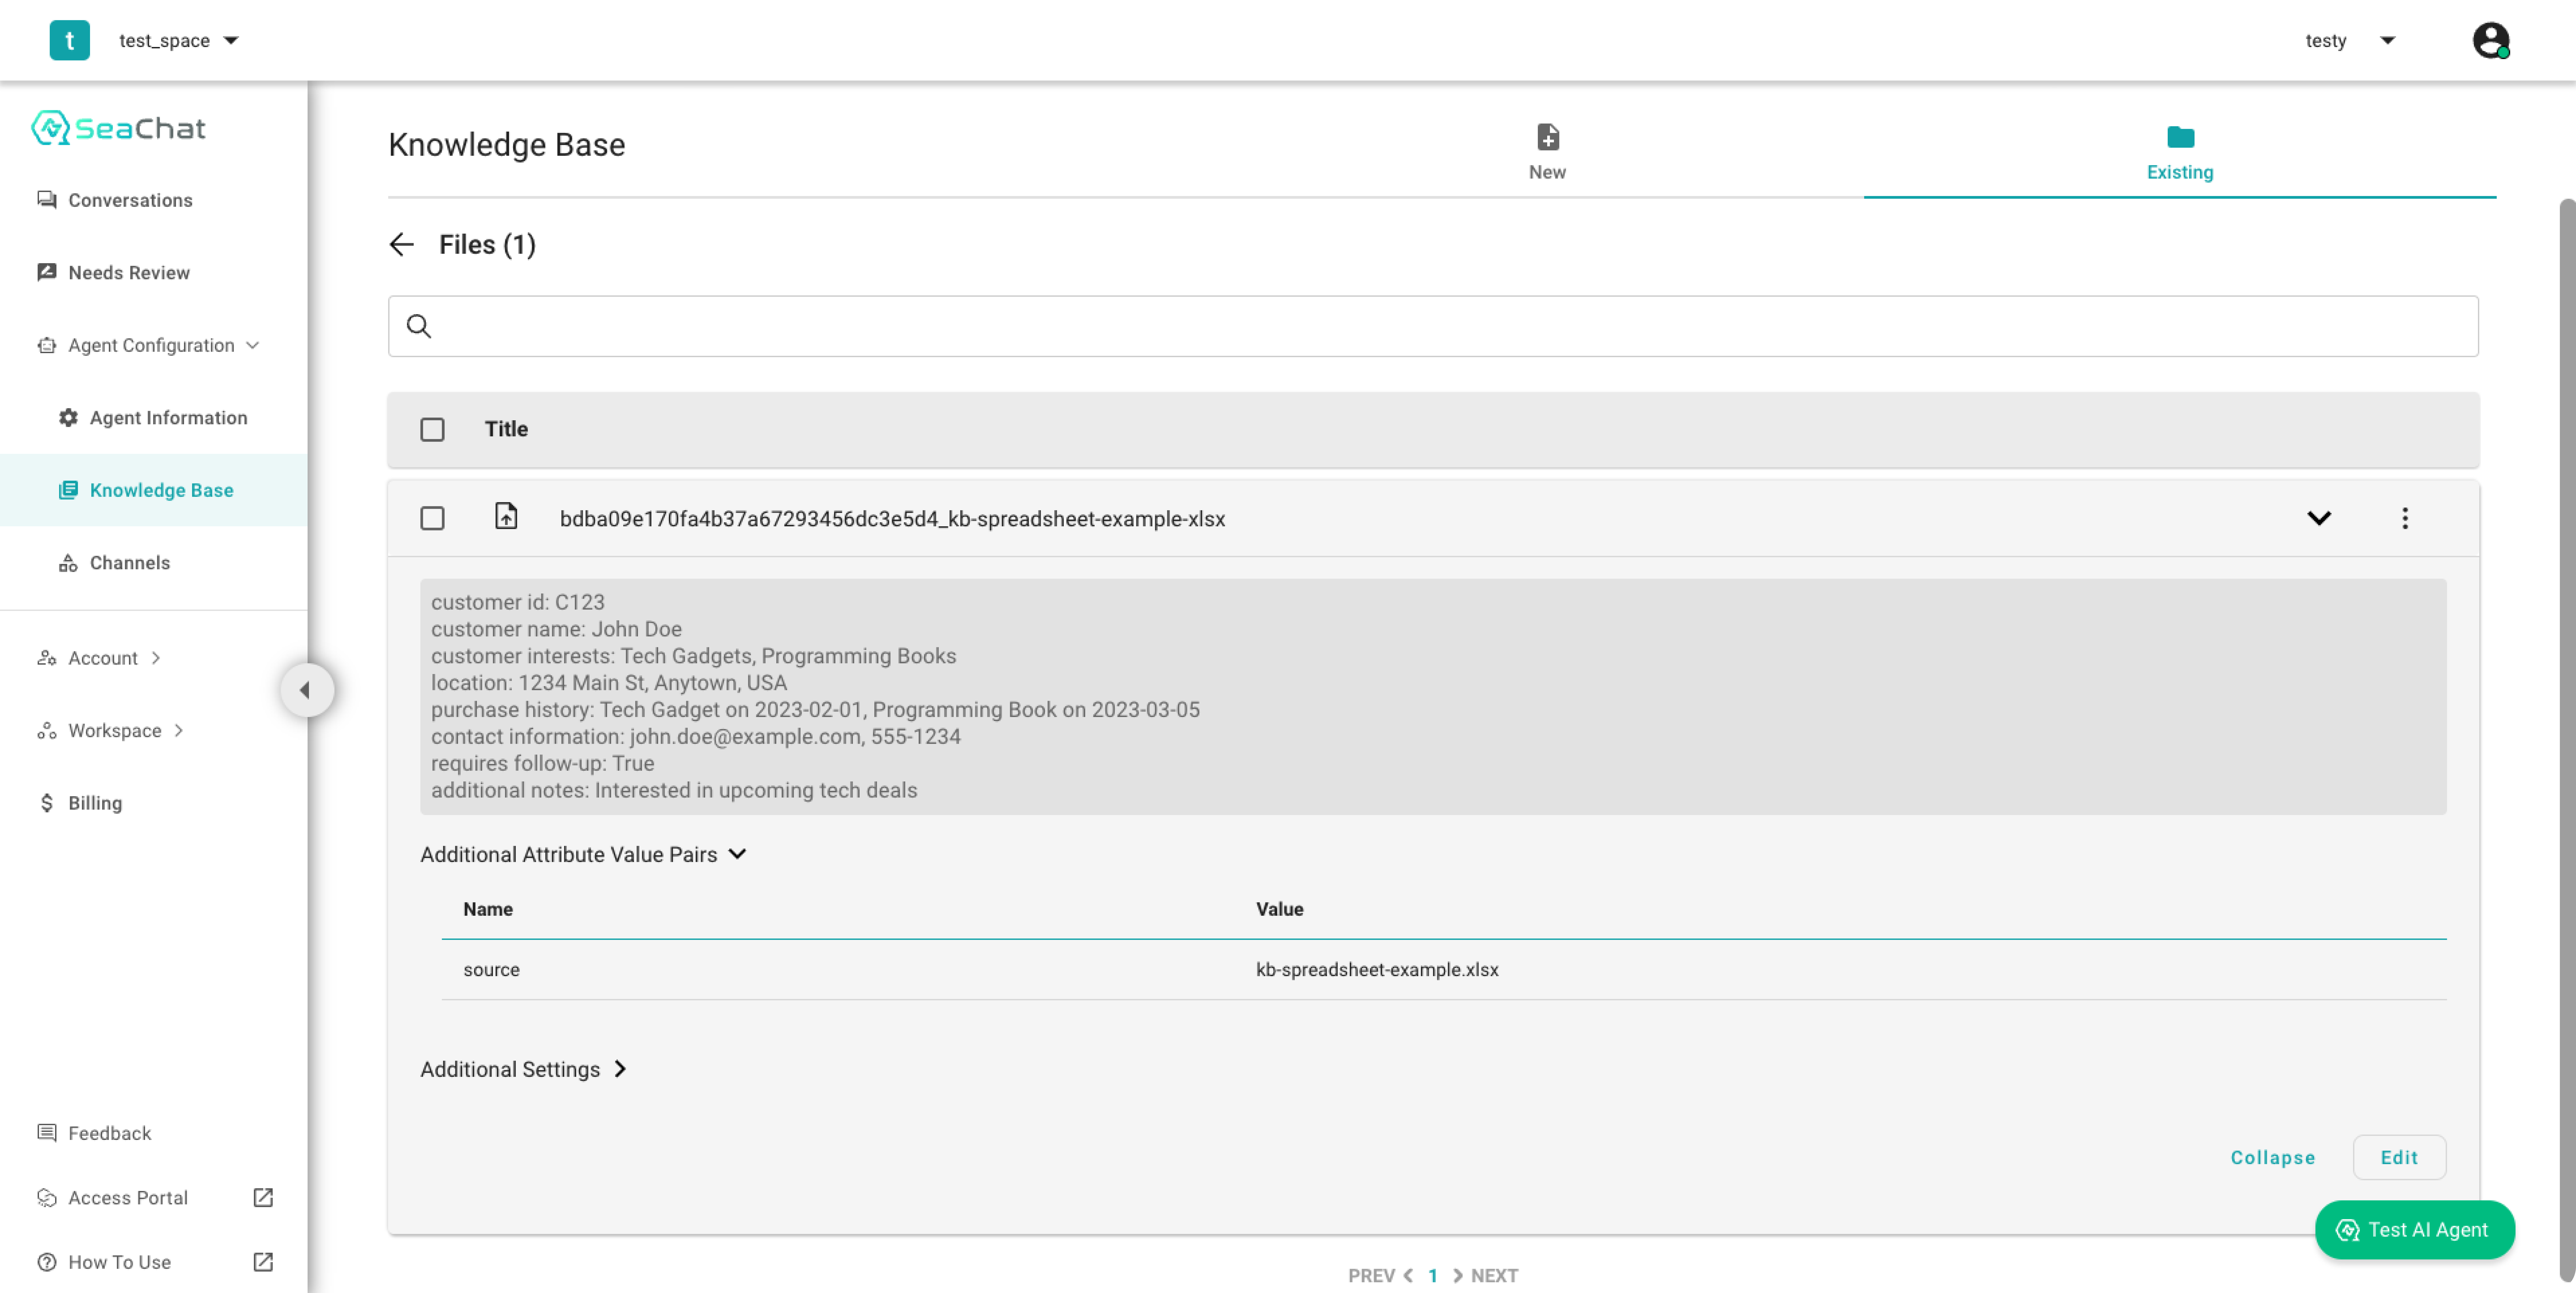
Review Uploaded File
🧠 Under the Hood
Why does SeaChat single out spreadsheet/table uploads? Because we believe spreadsheet/table are the most common way that any users organize their knowledge base. Yet special attention needs to be paid to optimize a Large Language Model’s (e.g. ChatGPT) ability to understand tables:
- We sacrifice space in exchange for understanding accuracy. In each data row, the actual values are prefixed with their header fields. So when a table becomes too big, the LLM/ChatGPT does not lose context.
- Because of the limited context length of LLMs, we limit each row to be more than 2,000 tokens.
Support
Need assistance? Contact us at seachat@seasalt.ai.
-
SeaChat supports .csv, .xls, .xlsx, .xlsm, .xlsb, .odf, .ods and .odt files. ↩︎