Wordpress
This page details the process for embedding the SeaChat AI agent into your Wordpress website.
Step 1: Create a SeaChat account
If you do not have a SeaChat account, you can sign up for free at SeaChat website! Then you can build your AI agent and bring it to your Wordpress websites.
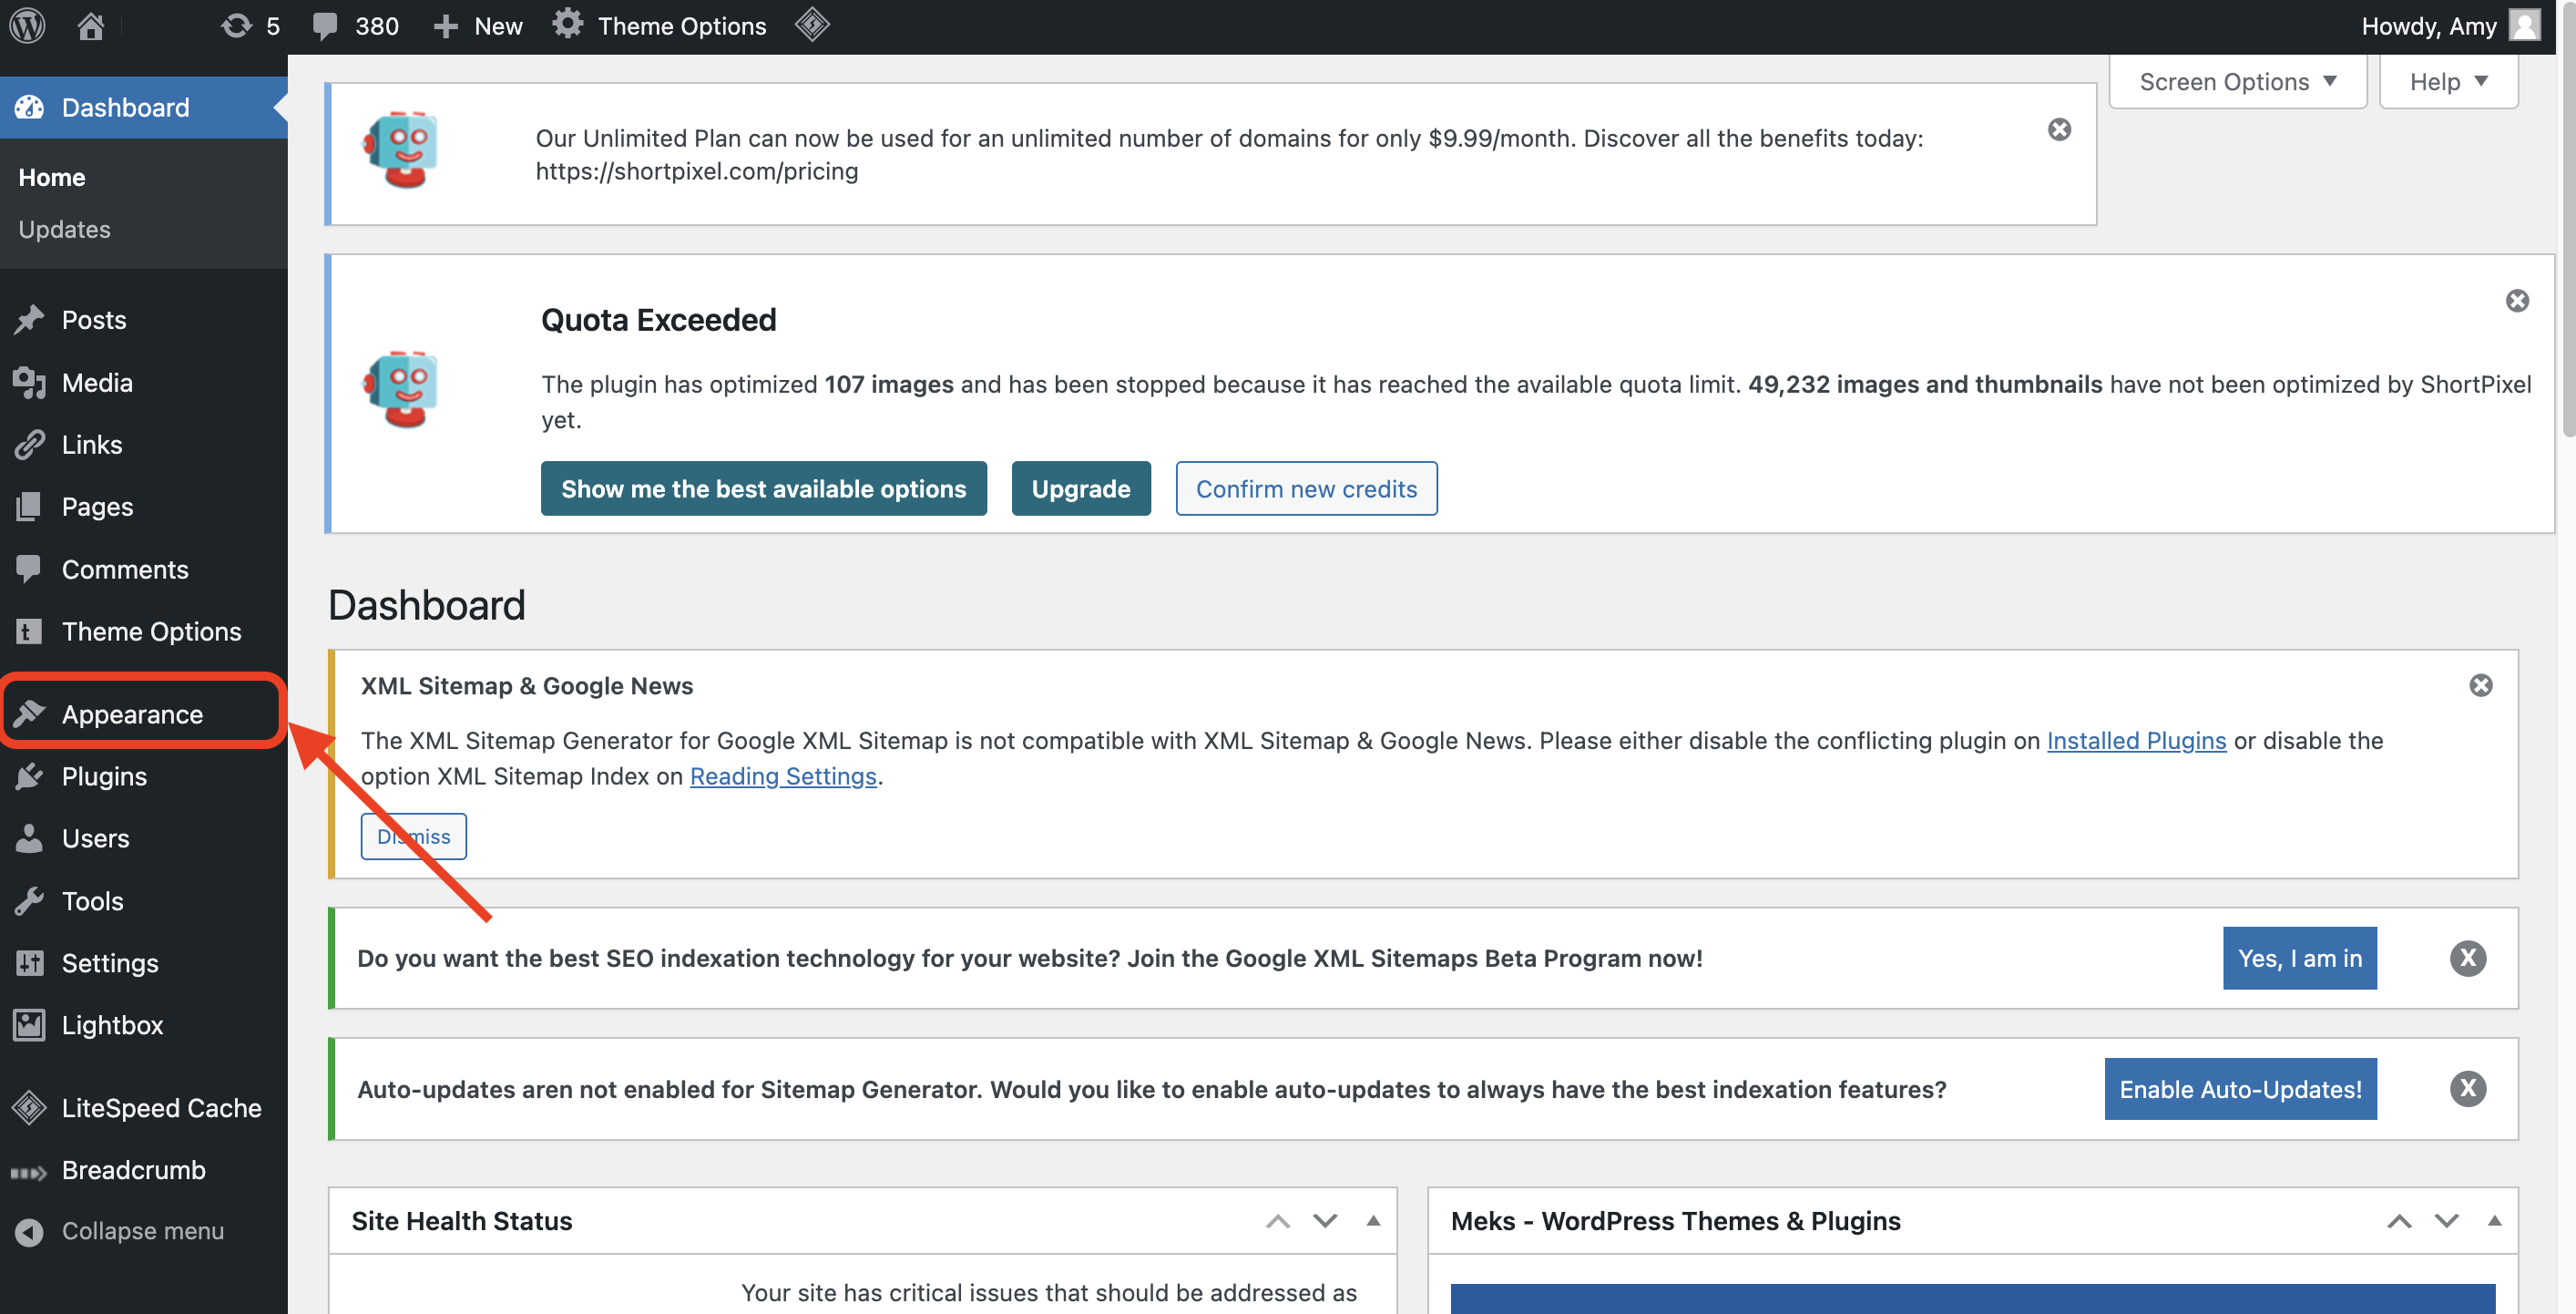
Step 2: Open Wordpress and “Appearance”
Go to your Wordpress dashboard for the website of interest. Click on Appearance on the left-hand side menu.
Step 3: Copy SeaChat Code
You will have to be logged in on SeaChat to view this code snippet. Access the required code snippet by navigating to Agent Configuration -> Channels within your workspace at the SeaChat dashboard, specifically under the Wordpress channel. Copy the code snippet.
Step 4: Open “Theme File Editor” and Add SeaChat Code Snippet
Select “Theme File Editor” on the left-hand side menu -> “Theme Footer” on the right-hand side menu. Then, paste the SeaChat code snippet in between <body> and </body>. Finally, click on Update File to save your change.

Step 5: Save and preview
Review your website now! If you go to your website now, you can see the SeaChat widget in the lower right corner.
Important Note: if you want to configure the style of your widget, please go to “Channels” -> “WebChat Widget” -> “Basic Setting”. Your AI Agent will share the same style across your webchat widget channels.
Debug Tip: SeaChat Widget Not Loading?
If you are using WordPress optimization plugins that eliminate render-blocking CSS, please be aware that this may cause the SeaChat webchat widget to not load properly on your website.
🔍 Why Does This Happen?
Some optimization plugins attempt to defer or remove critical CSS, which may interfere with how the SeaChat widget is rendered. This can result in:
- The widget is not appearing on your site.
- Unexpected UI issues affecting the chat widget.
🛠️ How to Fix It?
If you have a performance plugin enabled, follow these steps:
- Check your plugin settings for “Eliminate Render-Blocking CSS” or “Optimize CSS Delivery.”
- Disable this specific optimization to prevent it from affecting the chat widget.
- Clear your cache and reload your site to ensure the chat widget works correctly.
Example: WP Rocket
We take WP Rocket, a widely used web performance plugin as an example. In the FILE Optimization tab, we should not check the Optimize CSS delivery box to ensure smooth loading of SeaChat webchat.

If you need further assistance, feel free to reach out to seachat@seasalt.ai! 🚀