Wix
On this page
- Step 1: Create a SeaChat account
- Step 2: Open Wix and “Design Site”
- Step 3: Open “Add Elements”
- Step 4: Open “Embed Code” -> “Embed HTML”
- Step 5: Copy SeaChat Code
- Step 6: Adjust Chat Widget Box Size
- Step 7: Anchor SeaChat Widget Position
- Step 8: Save and preview
- Step 9: (Optional) Disconnect other chatbot
This page details the process for embedding the SeaChat AI agent into your Wix website.
Step 1: Create a SeaChat account
If you do not have a SeaChat account, you can sign up for free at SeaChat website! Then you can build your AI agent and bring it to your Wix websites.
Step 2: Open Wix and “Design Site”
Go to your Wix dashboard for the website of interest. Select the Design Site on the top right menu.

Step 3: Open “Add Elements”
Next, select “Add Elements" in the sidebar menu.
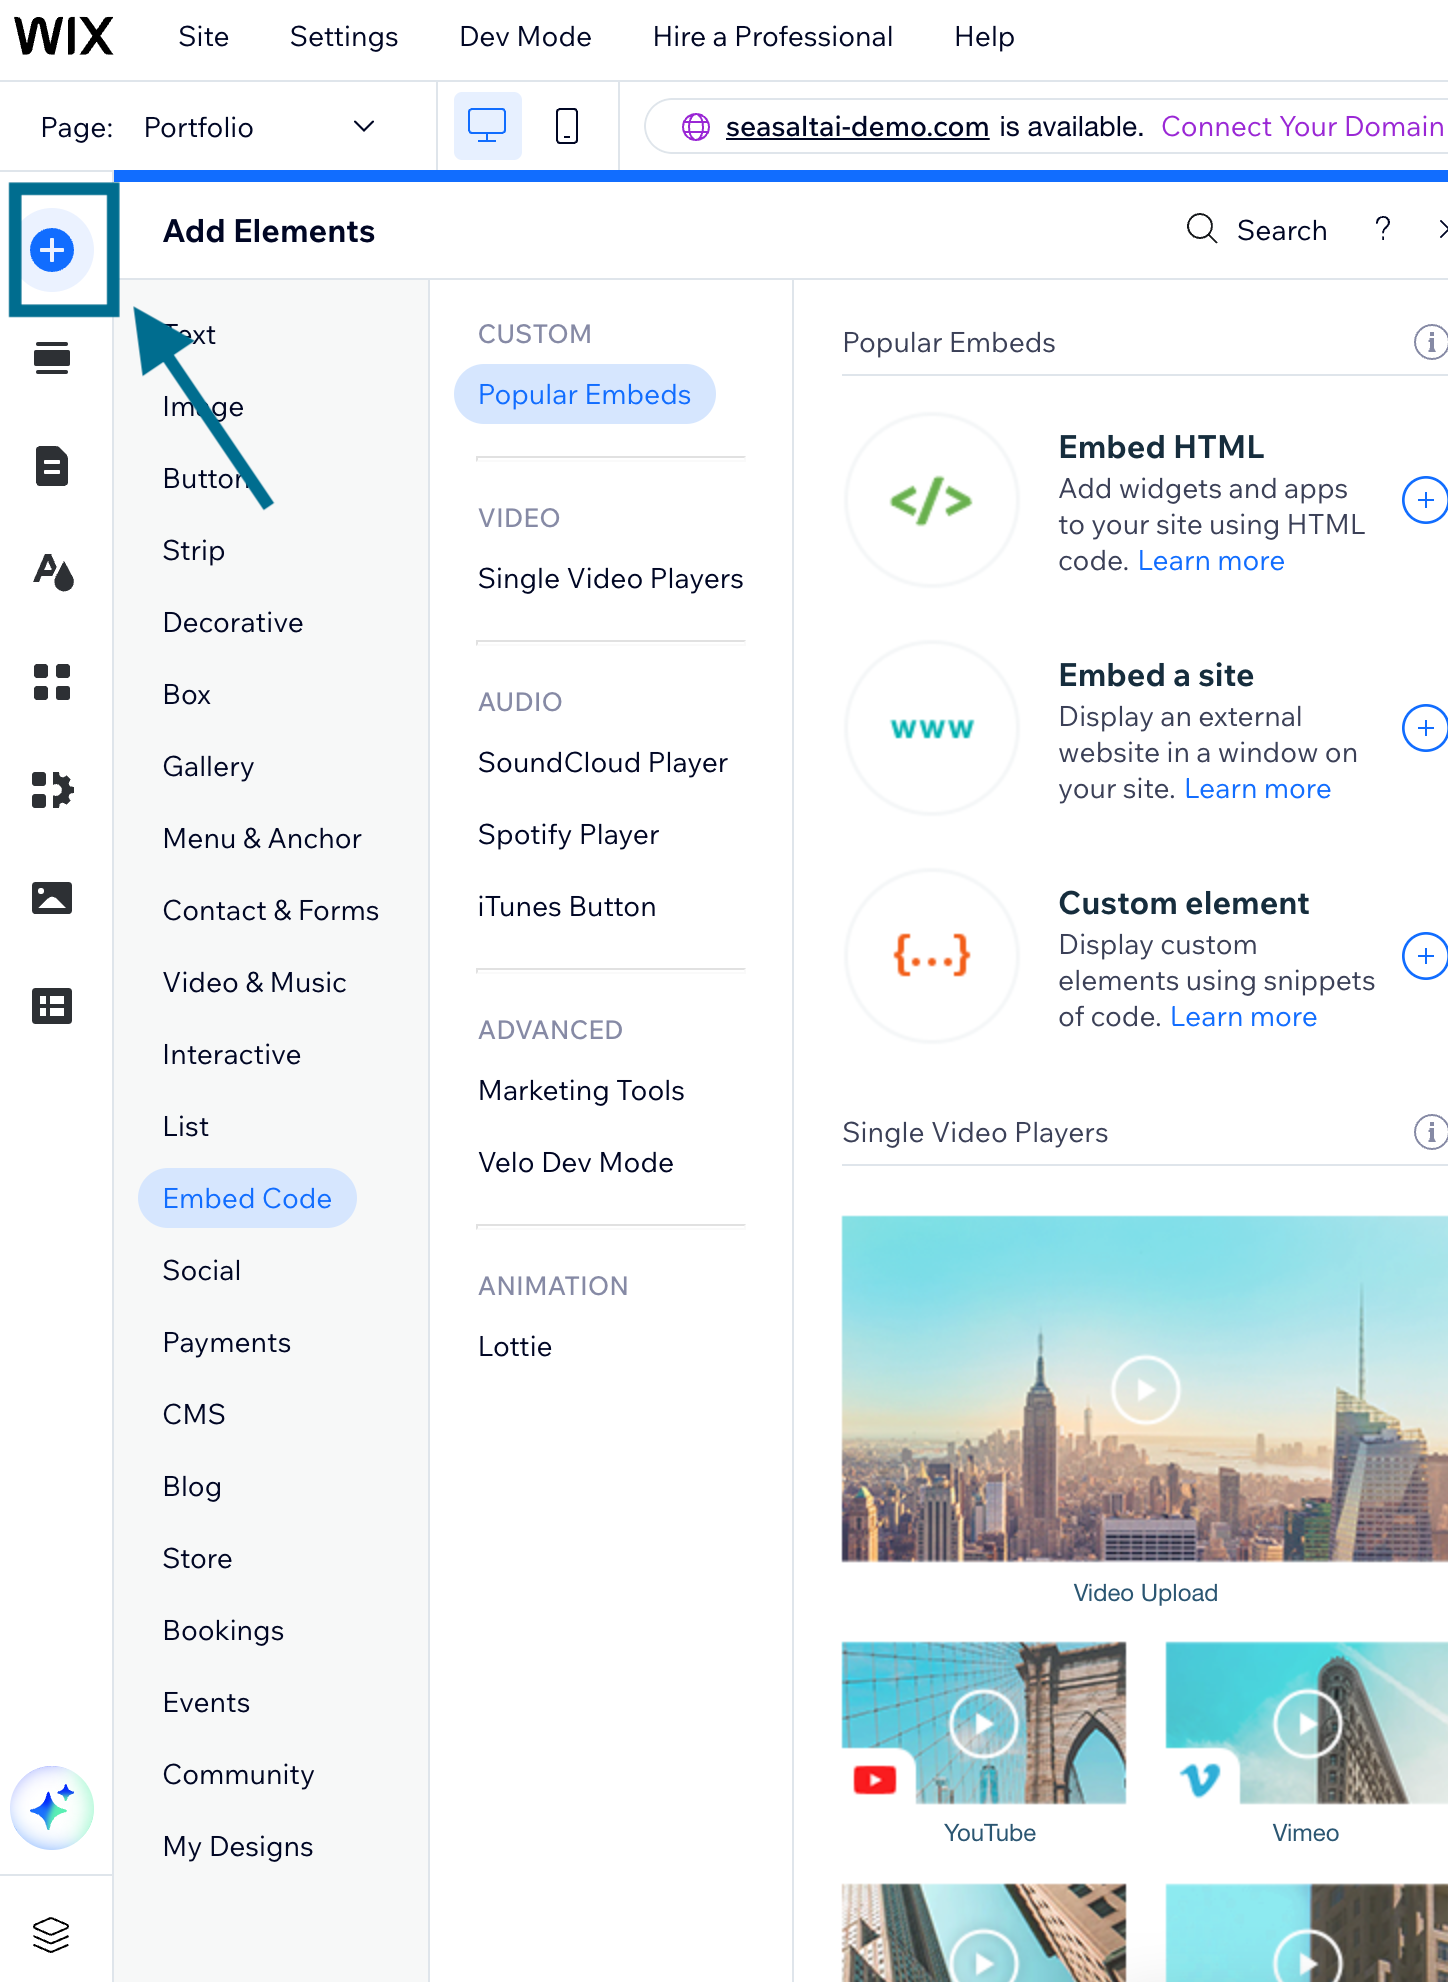
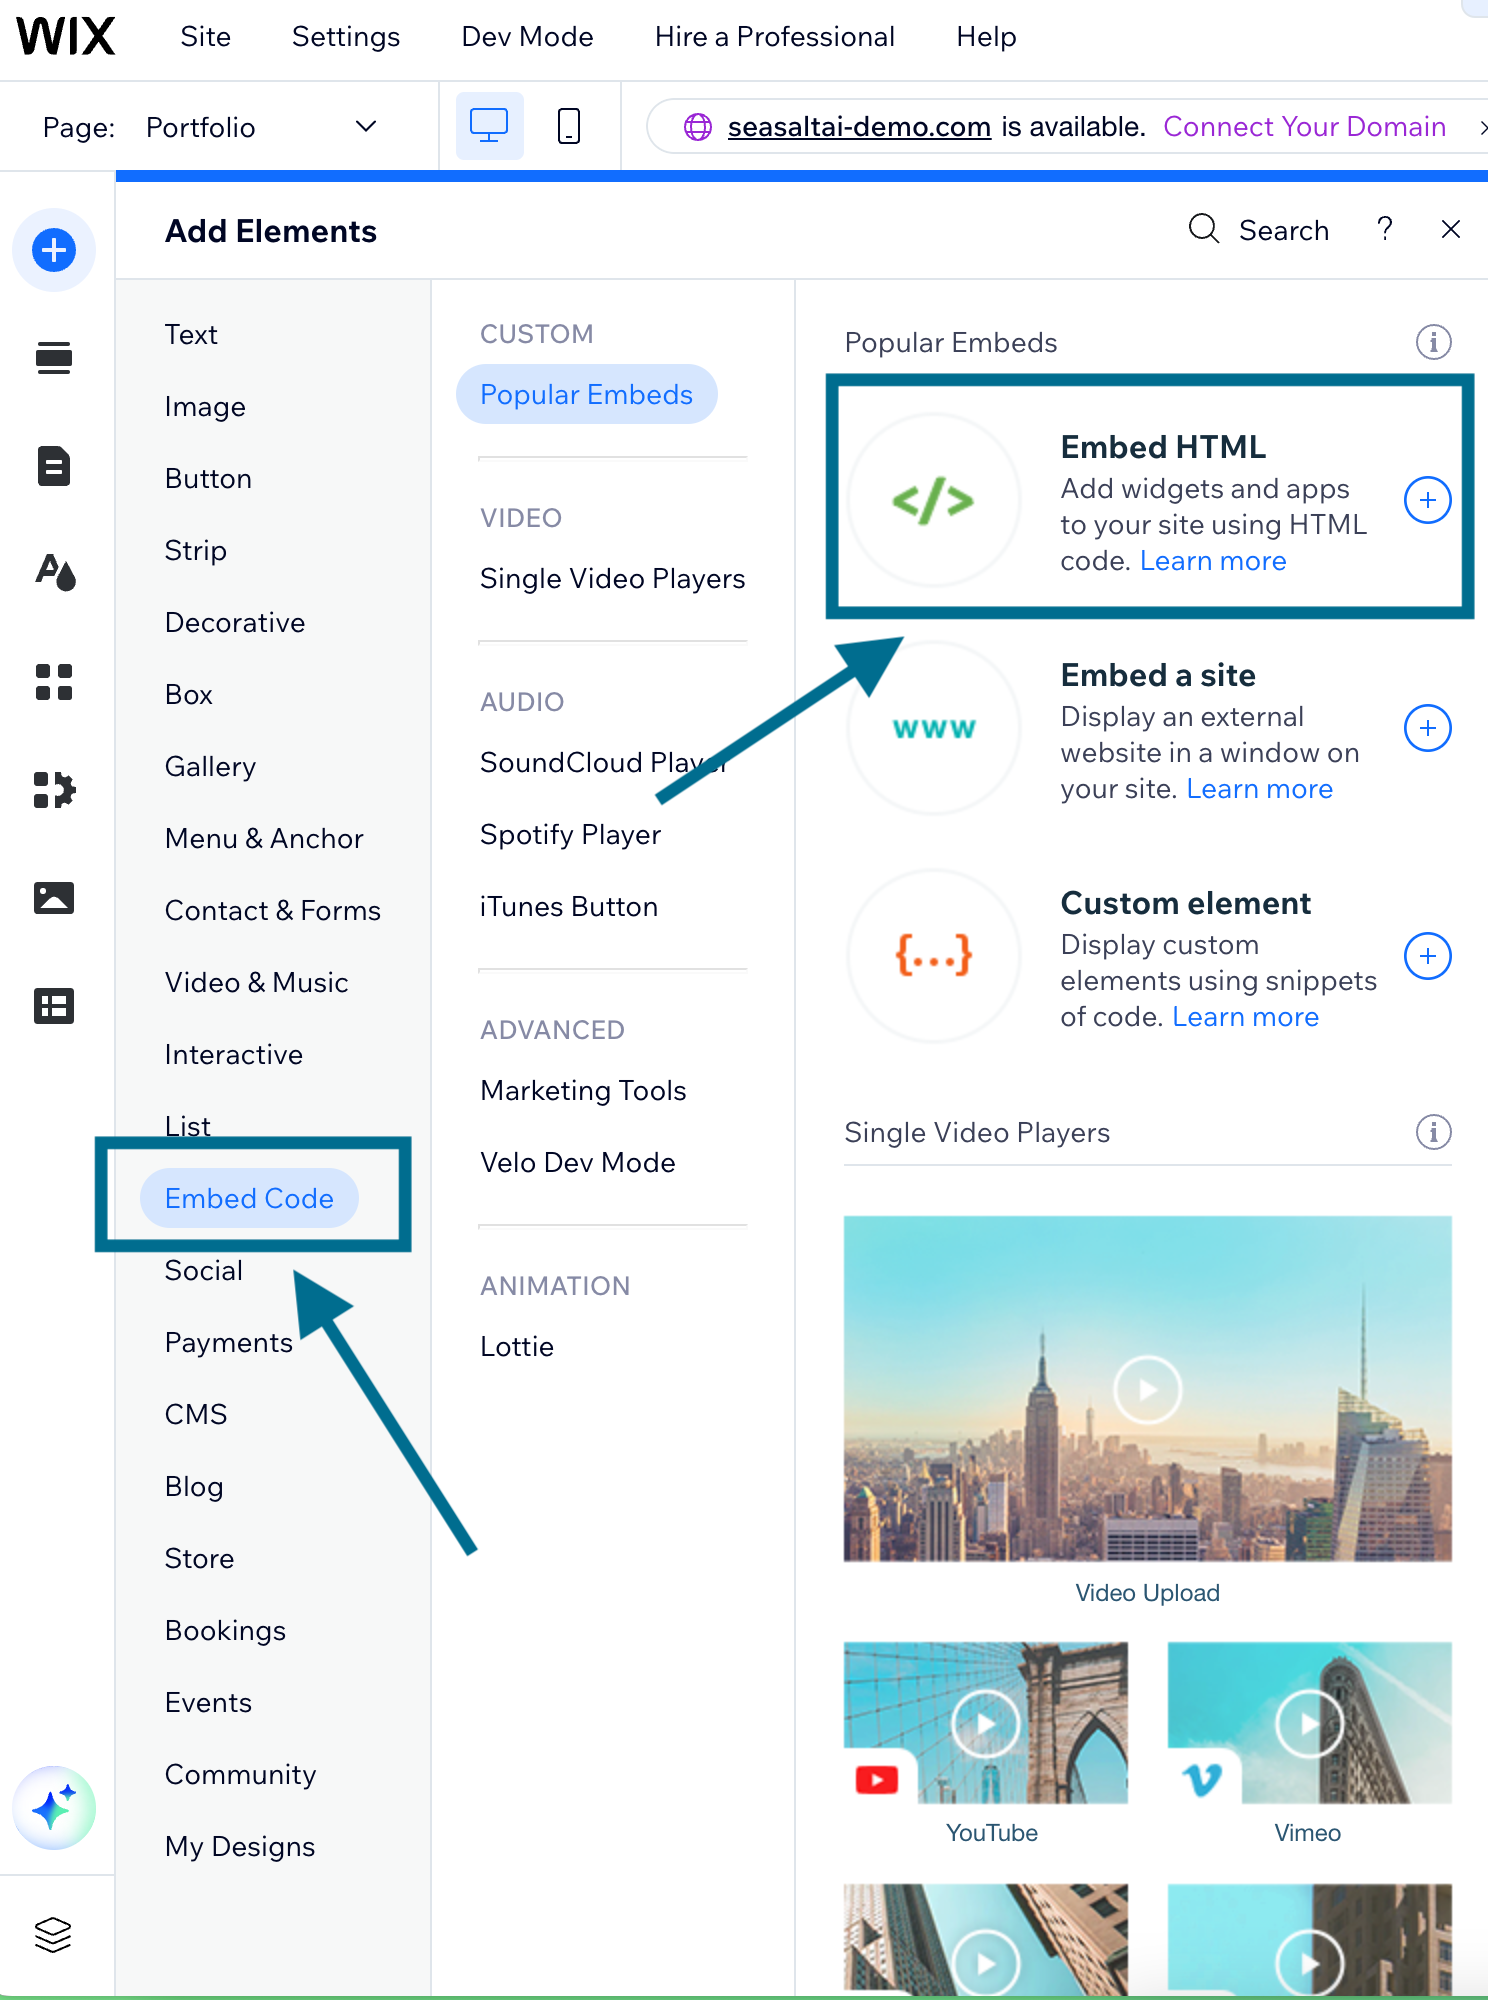
Step 4: Open “Embed Code” -> “Embed HTML”
Select “Embed Code” -> “Embed HTML” in the menu.
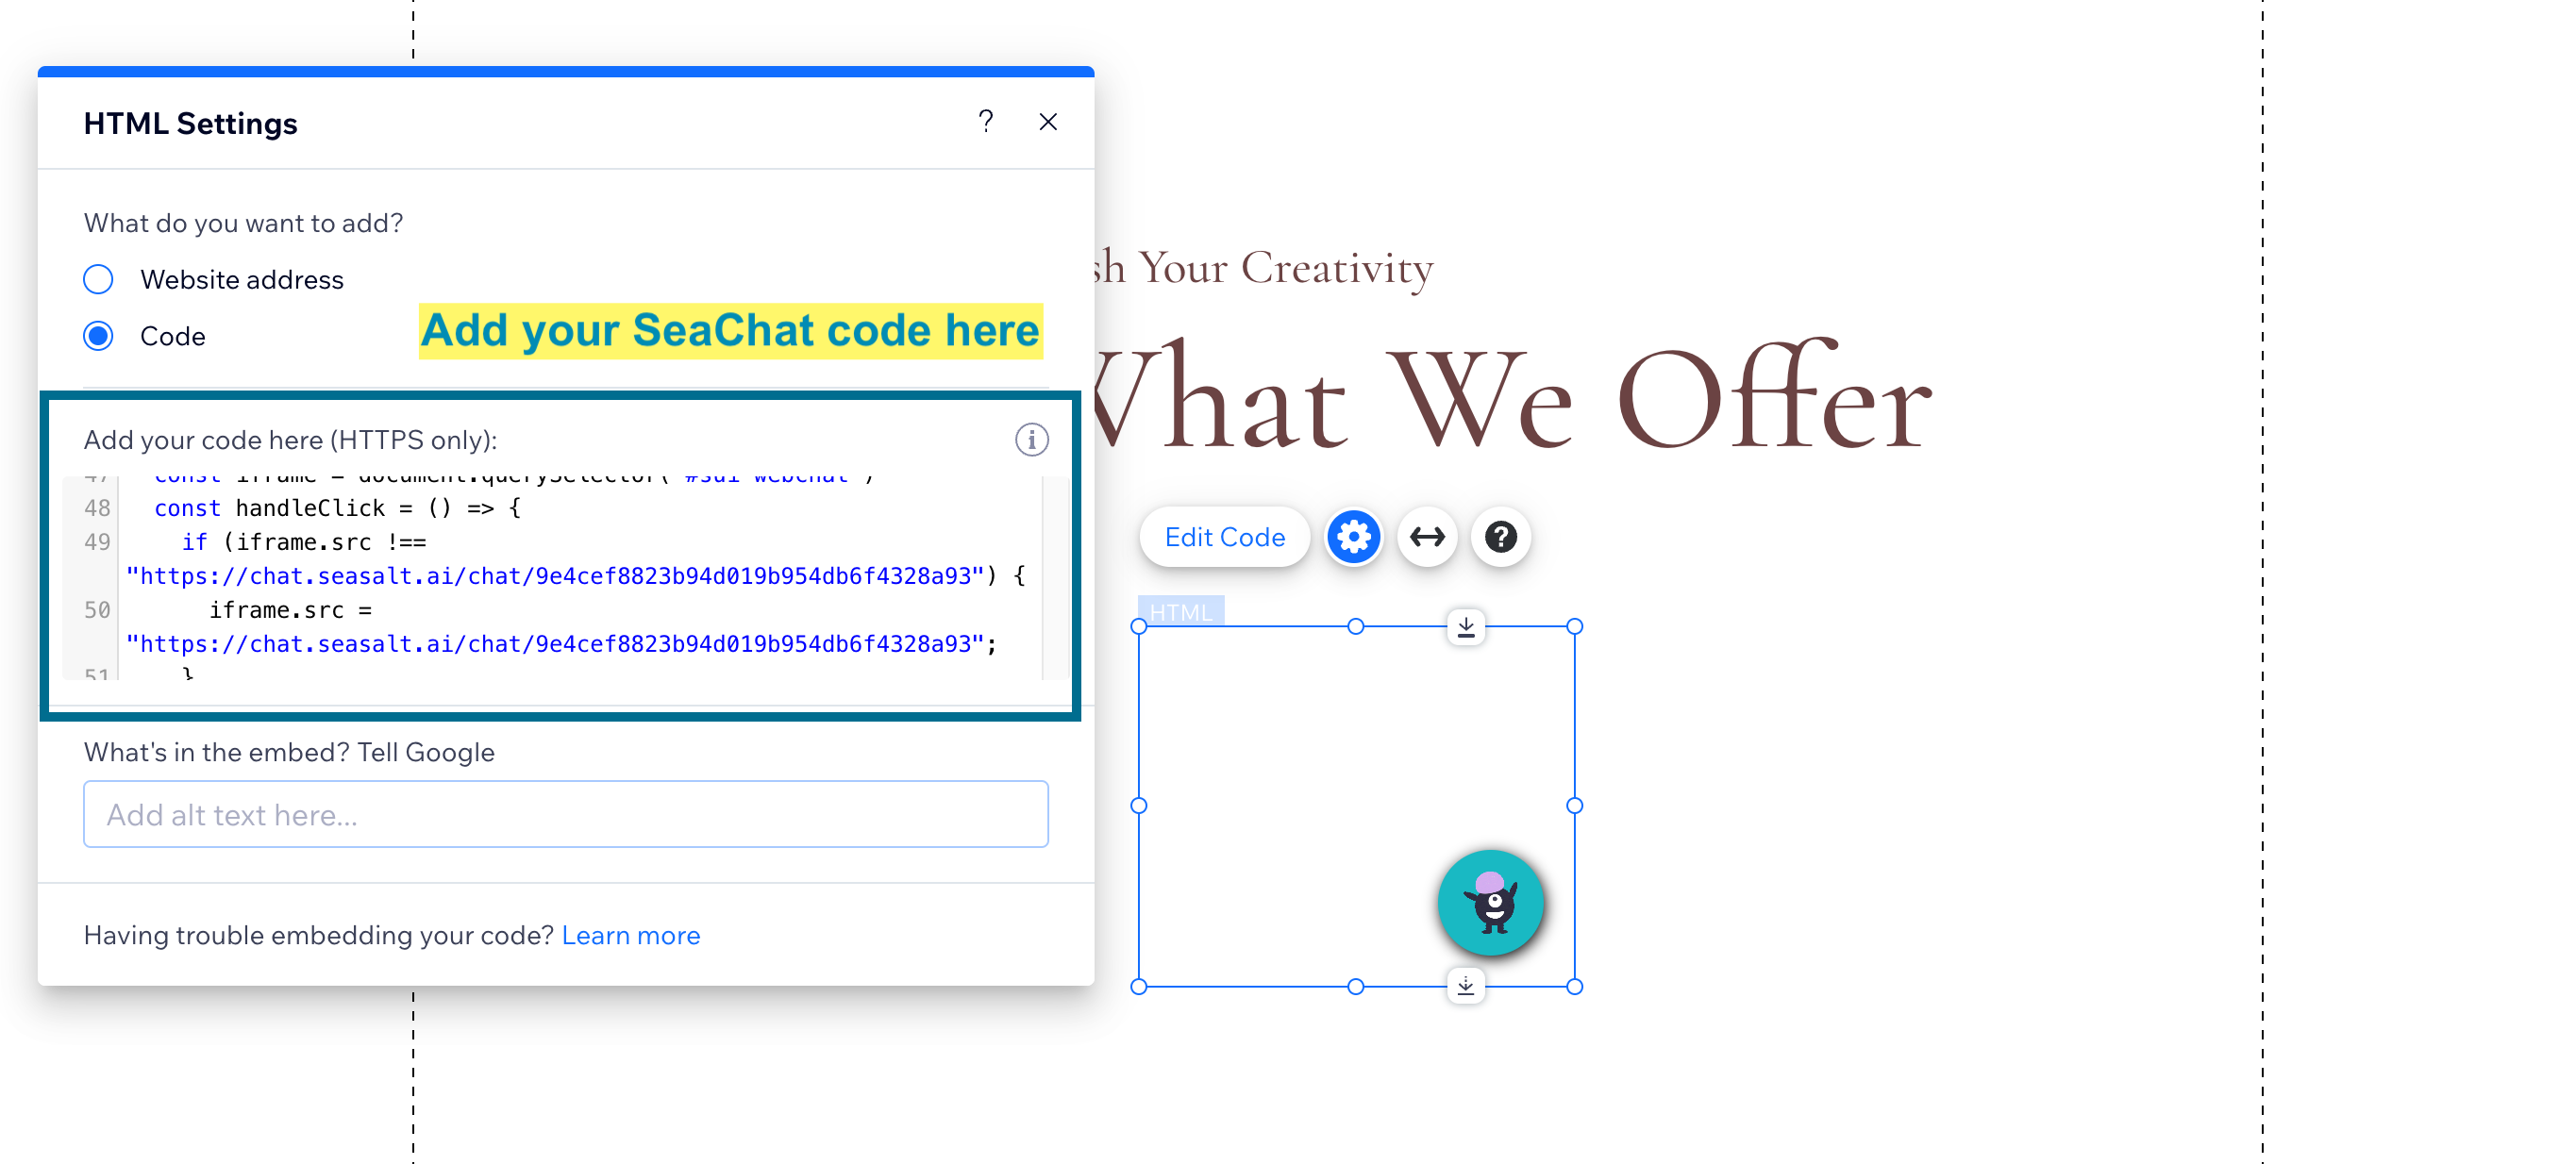
Step 5: Copy SeaChat Code
You will have to be logged in on SeaChat to view this code snippet. Sign up for free at SeaChat. Access the required code snippet by navigating to Agent Configuration -> Channels within your workspace at the SeaChat dashboard, specifically under the Wix channel.
Paste the SeaChat code snippet from the Wix integration setup on Seachat into the code box. Remember to click “Update”.
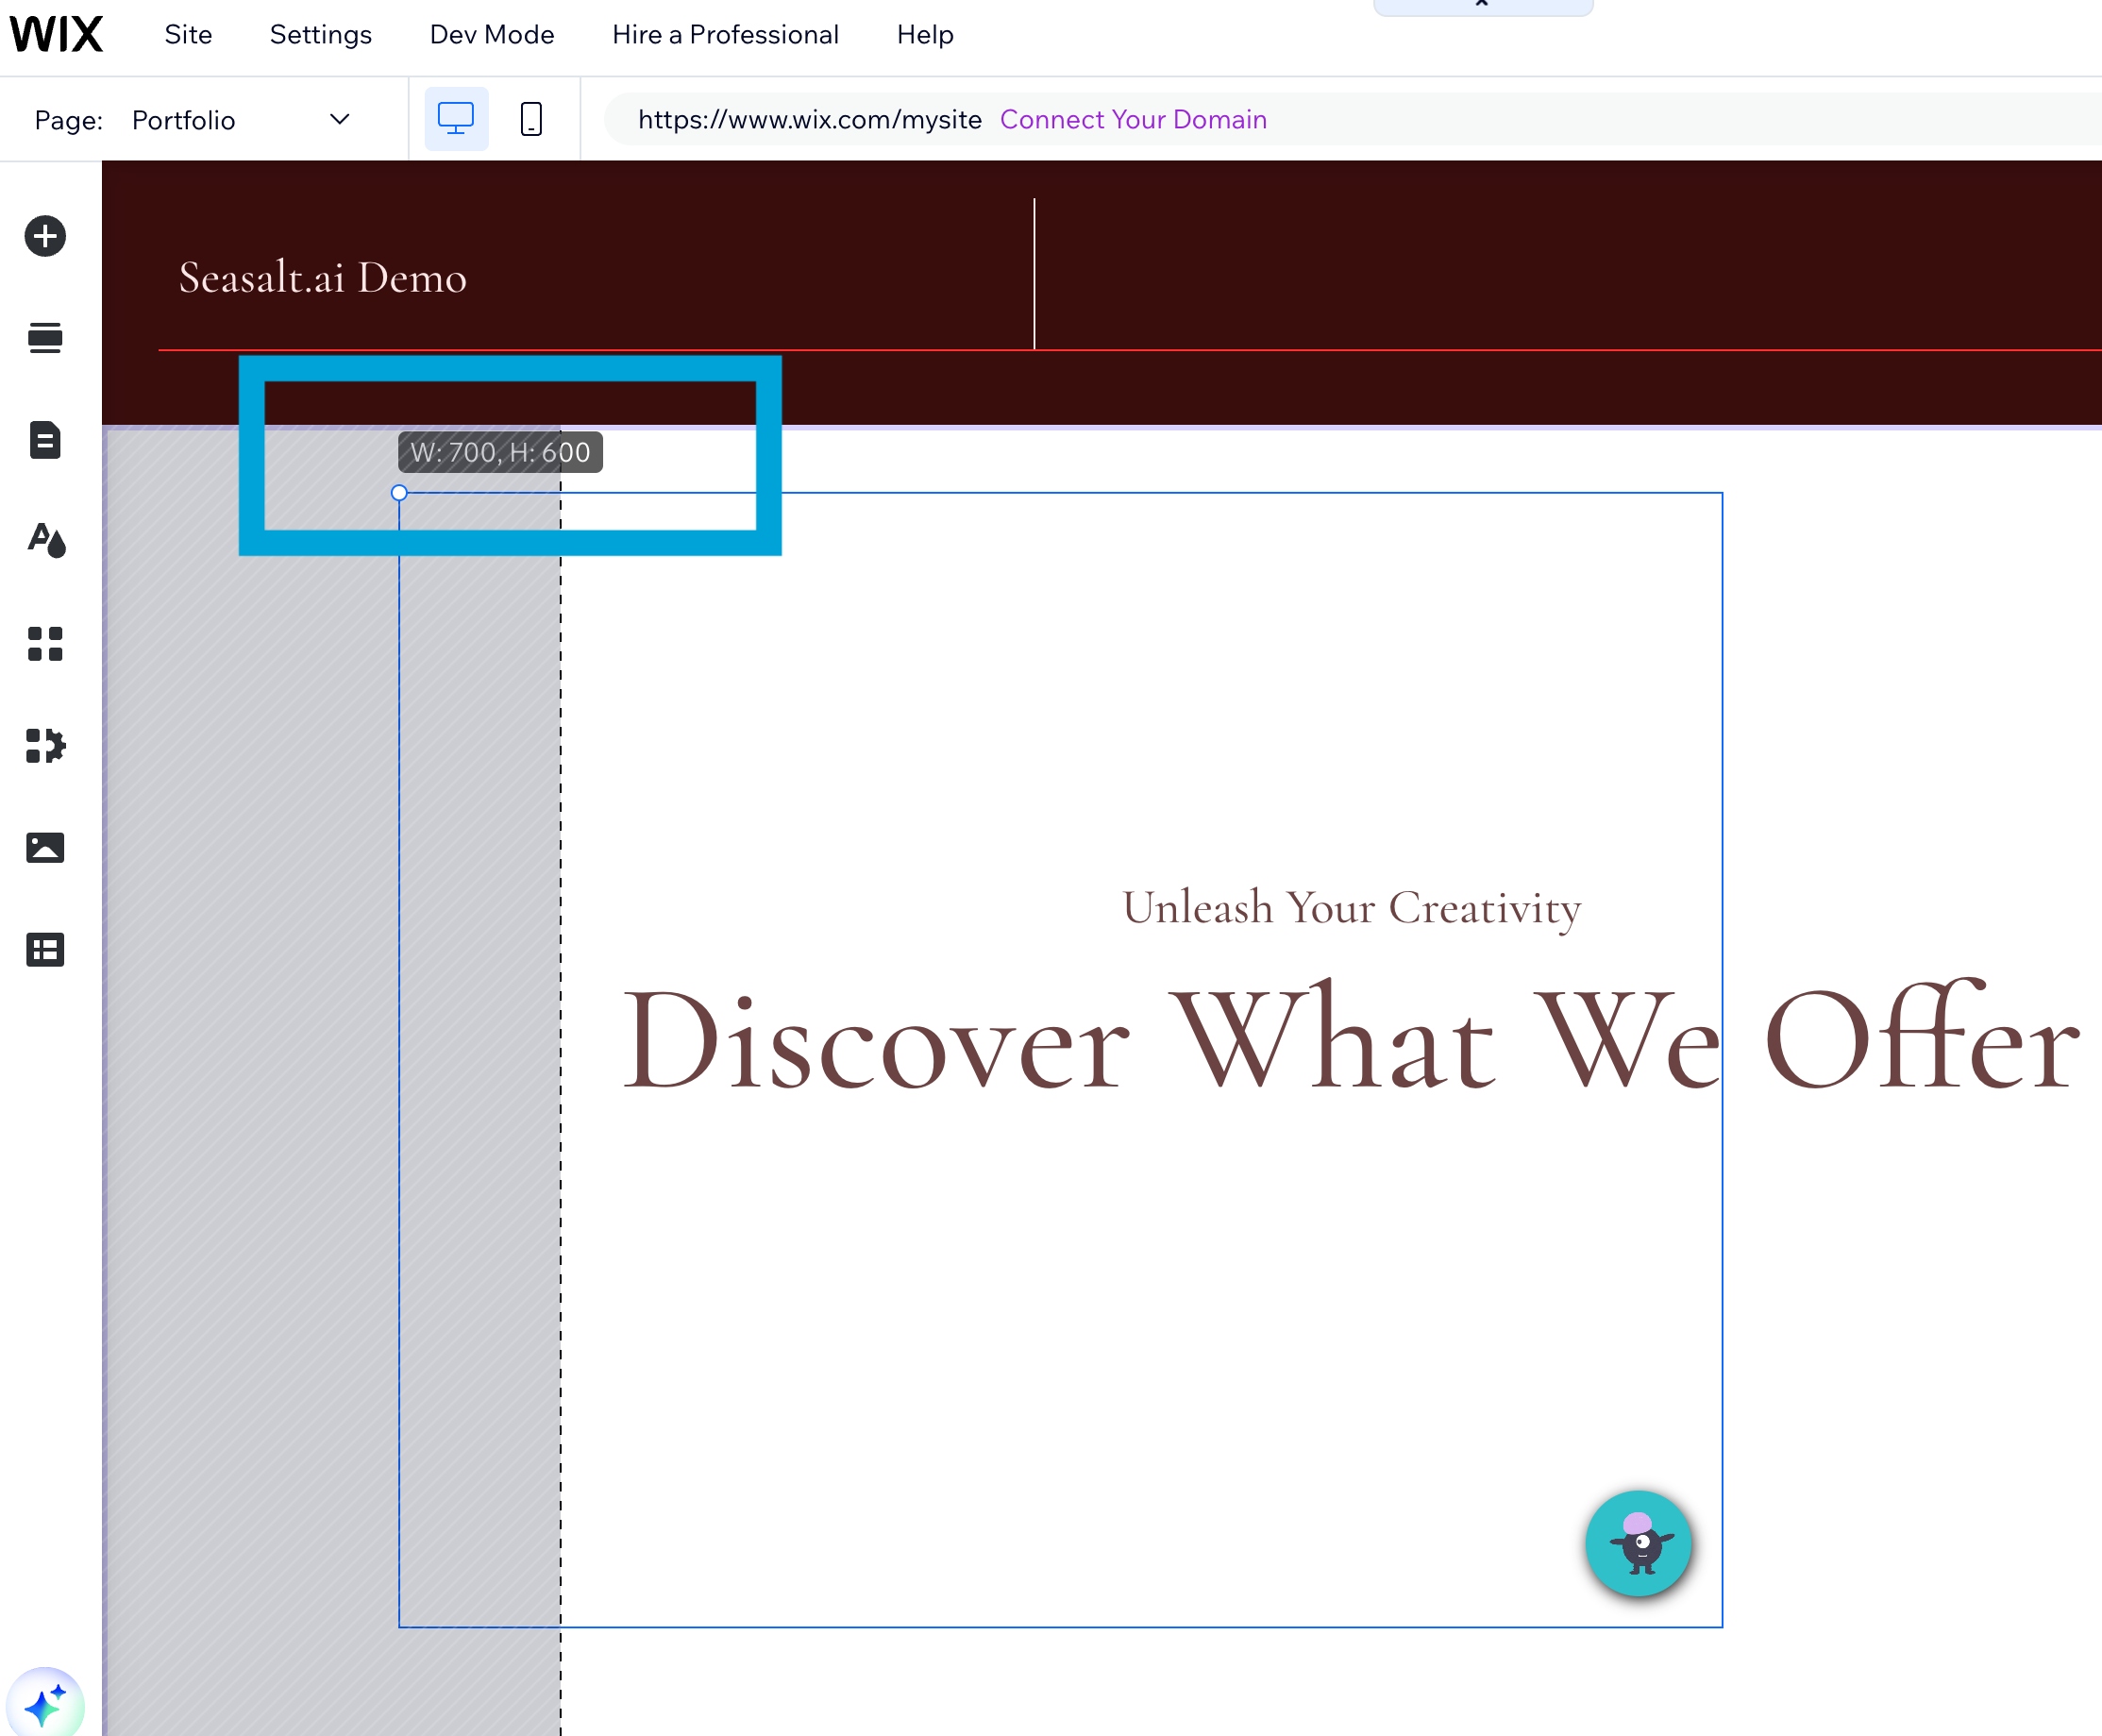
Step 6: Adjust Chat Widget Box Size
Use the sizing tool to adjust the chat widget to big enough size. In the example, I adjusted the size to be W: 700, H:600. After you adjust the widget size, drag the widget to the desired location, usually in the lower right hand corner.
Step 7: Anchor SeaChat Widget Position
Ensure the SeaChat widget is anchored in place (lower right hand corder) to avoid movement during page scrolling.
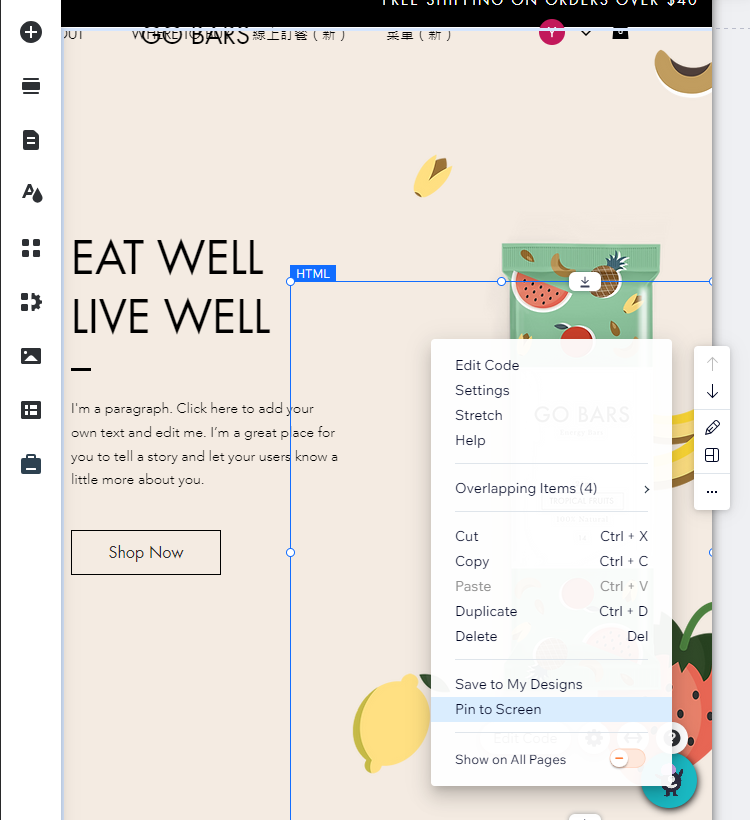
Select the widget. Right-click. Select “Pin to Screen”. Then this widget component will be anchored on the corner and floating.
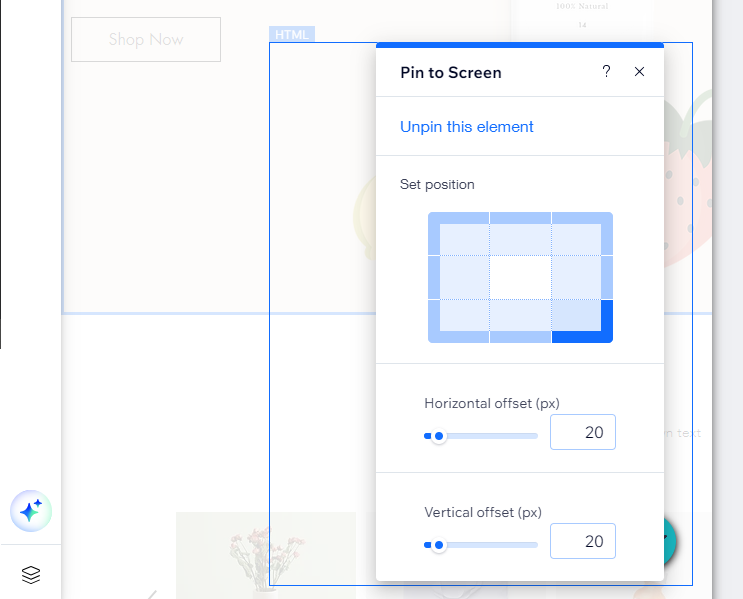
You can adjust the margin/offset. We recommend 20 for both vertial and horizontal settings.
Step 8: Save and preview
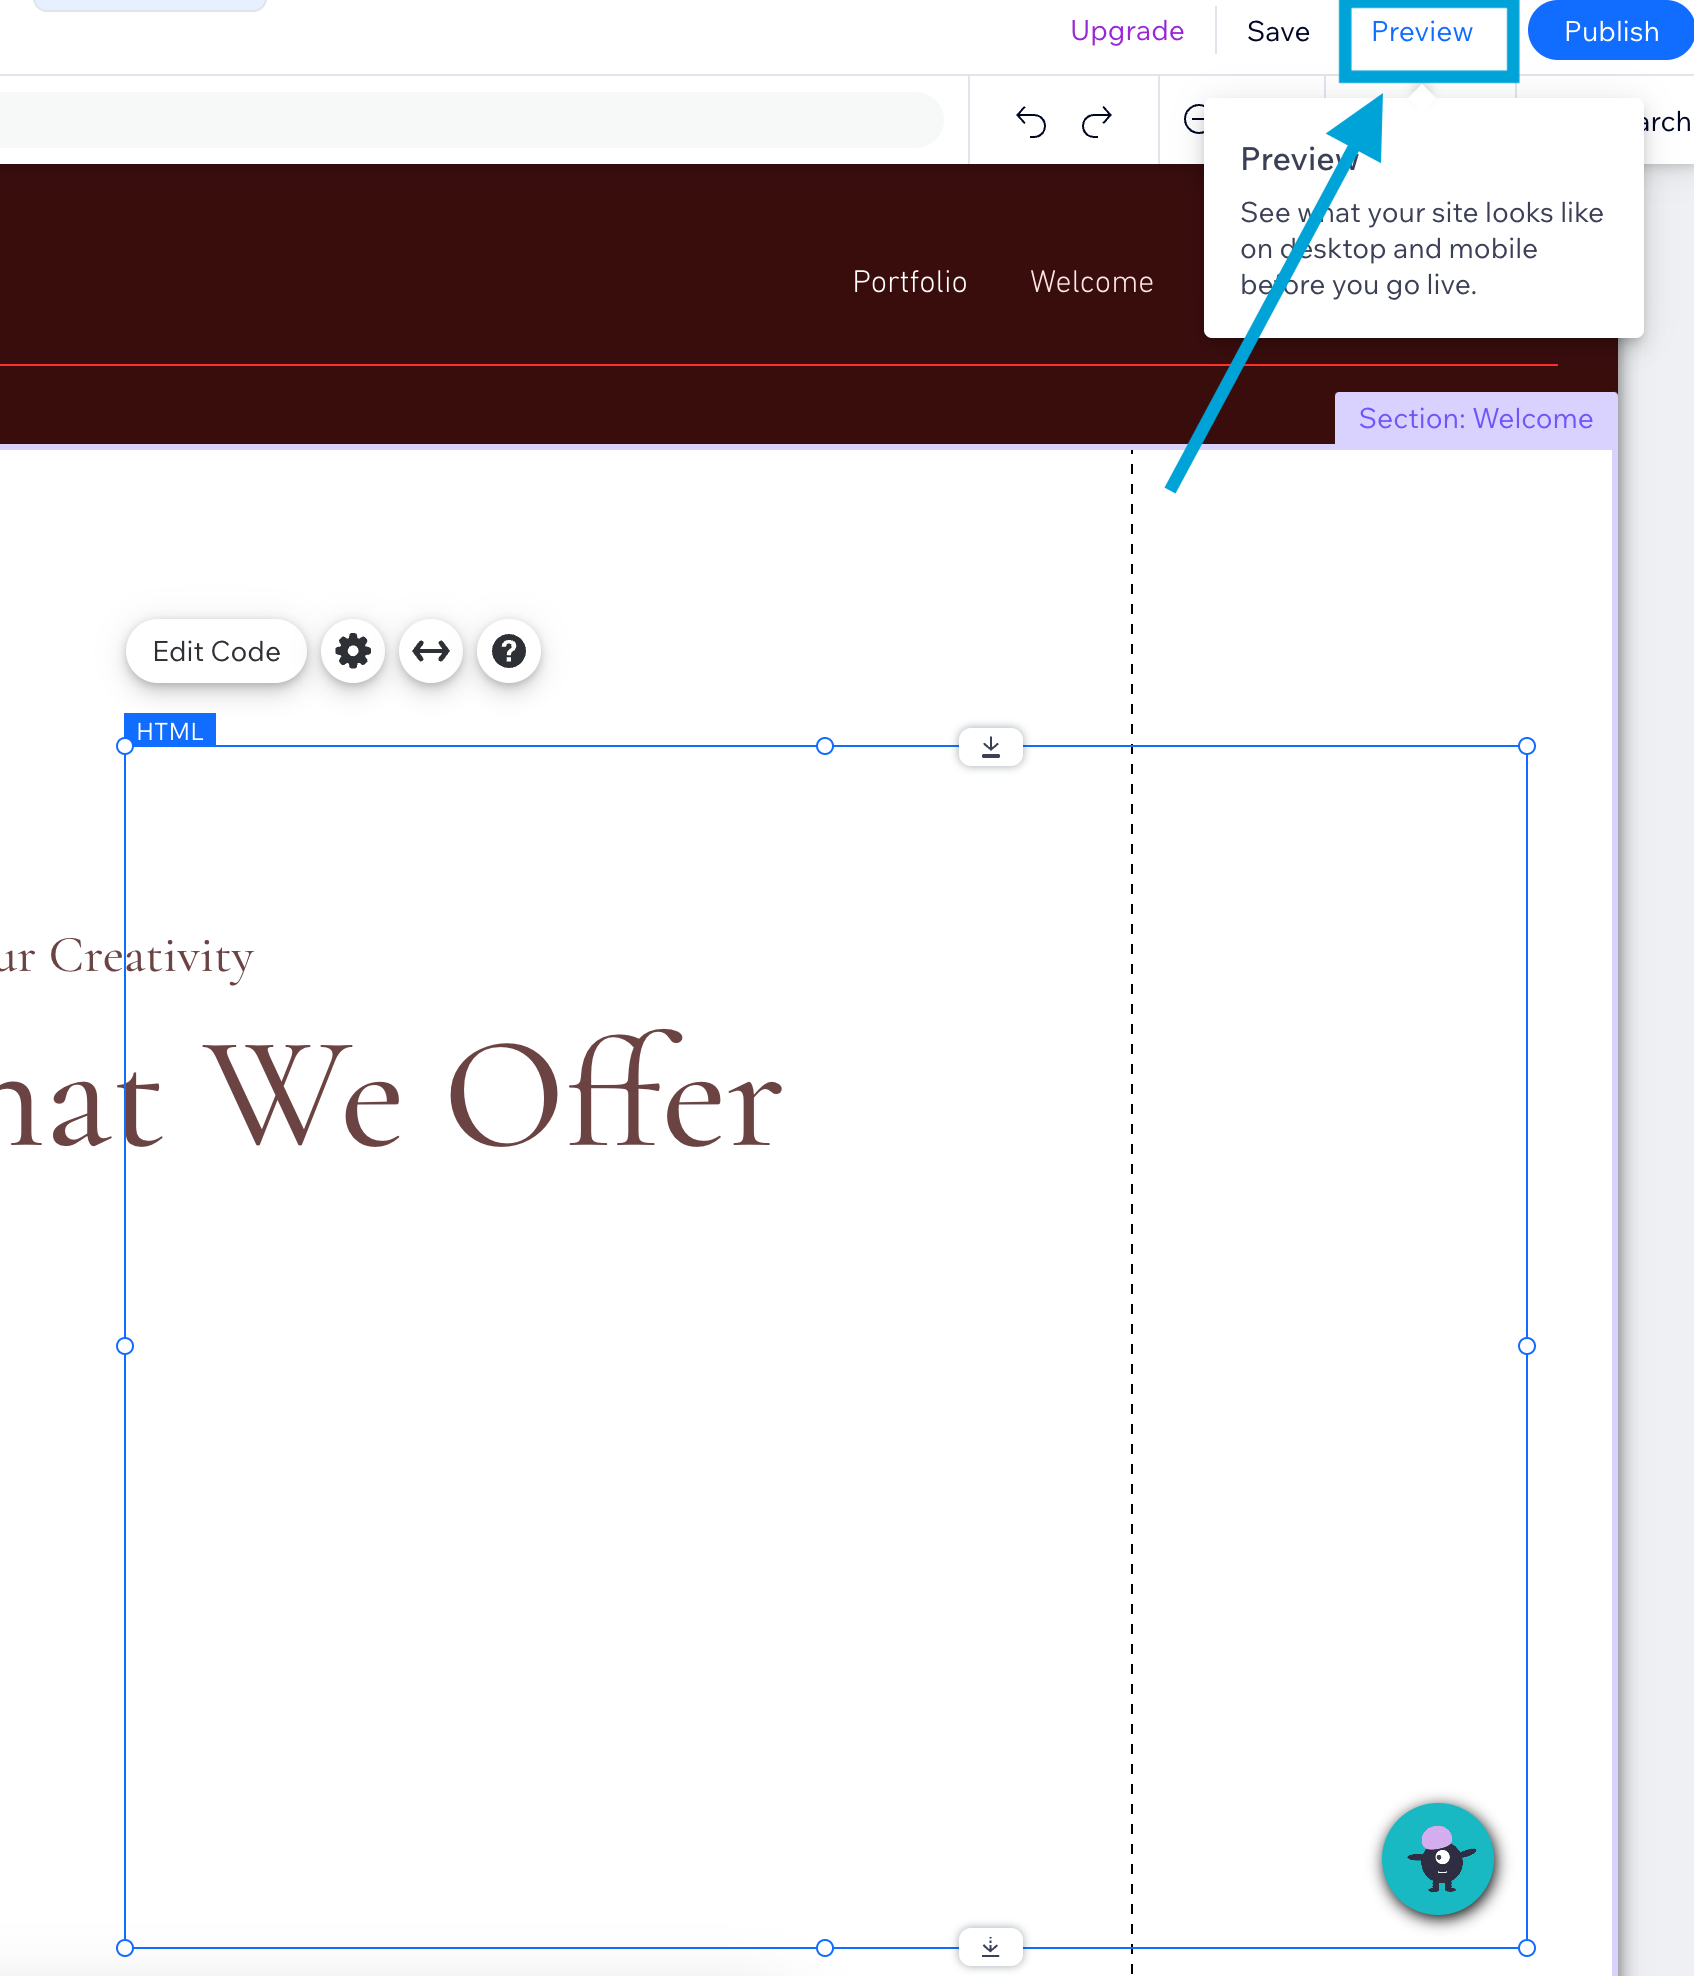
Use “Preview” function on Wix to test the AI agent. Remember to launch the website again when you are ready!
Important Note: if you want to configure the style of your widget, please go to “Channels” -> “WebChat Widget” -> “Basic Setting”. Your AI Agent will share the same style across your webchat widget channels.
Step 9: (Optional) Disconnect other chatbot
Please disconnect any other chatbot services to prevent confusion. If your previous chatbot service is embedded in code, remove it carefully from the “Code Injection” section.
Support
Need assistance? Contact us at seachat@seasalt.ai.