SeaX Widget
Overview
In this article, we will introduce the SeaX Widget, a feature of the SeaX Messaging platform that allows you to integrate a widget button that your customers can click on and directly send a message to your SeaX Messaging account. You will learn how you can set up the SeaX Widget and integrate it into your website or app.
Why SeaX Widget?
Providing a seamless experience for your customers is crucial for any business. SeaX Widget can be integrated into your website or app to provide your customer the means to message your SeaX Messaging account directly. By integrating the SeaX Widget into your website or app, your customer is only one click away from getting the help they need. As a business owner, you can then unify all your customer interactions in SeaX Messaging, making it easier for you to manage and respond to your customers.
Find the Webchat Widget Dashboard
Let’s first find the Webchat Widget Dashboard in the SeaX Messaging. In your sidebar menu, click on Webchat Widget to access the Webchat Widget Dashboard.

Webchat Widget Dashboard
Setting up your SeaX Widget
In the Webchat Widget Dashboard, you can customize the appearance of your SeaX Widget. You can change the color, size, and image of the widget button to match your website or app’s design. You can also set the greeting message that your customers will see when they use the widget. Let’s go over each one of these settings.
💡 Reminder:
Every time you make a change, remember to click on the Save button to apply the changes.
Bubble
The bubble setting allows you to customize the appearance of the widget button. This is what your customers will see on your website or app. By pasting the URL into the Widget Logo, you can change the widget’s icon so that it matches your brand’s design. Remember to write a friendly Widget Popup Message to set the greeting message. Your customers will see this message when the bubble button shows up.
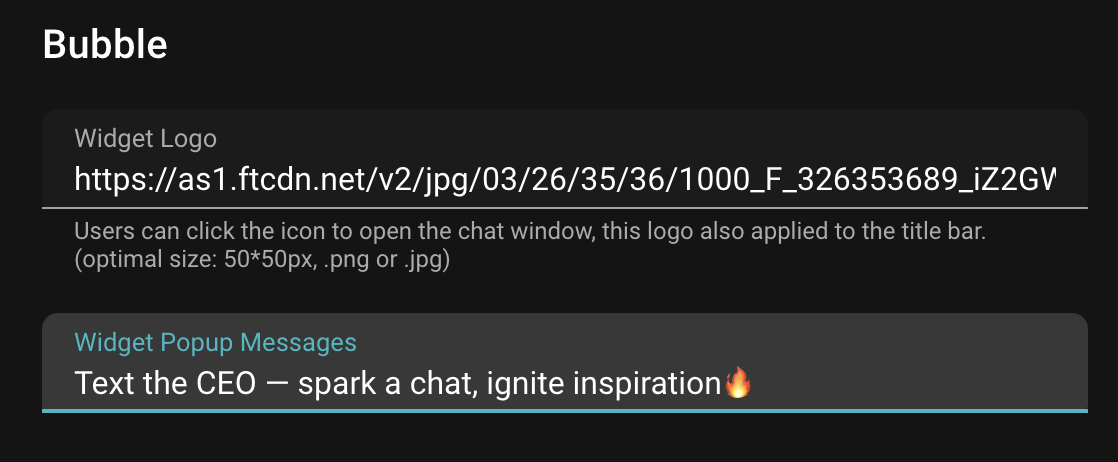
Customize your bubble's design
This is what your bubble button with custom greeting message will look like:
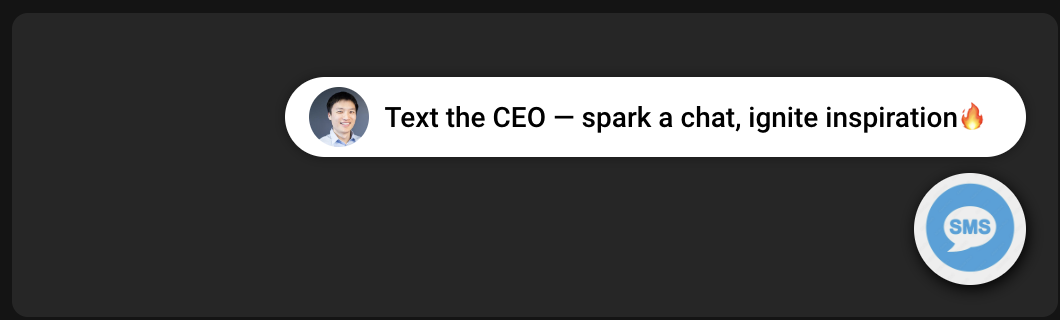
Bubble Widget
Popout
In Popout, you can customize the appearance of the chat interface that your customers will use to communicate with you via SeaX Messaging. You must provide Widget Title and colors for the chat interface.
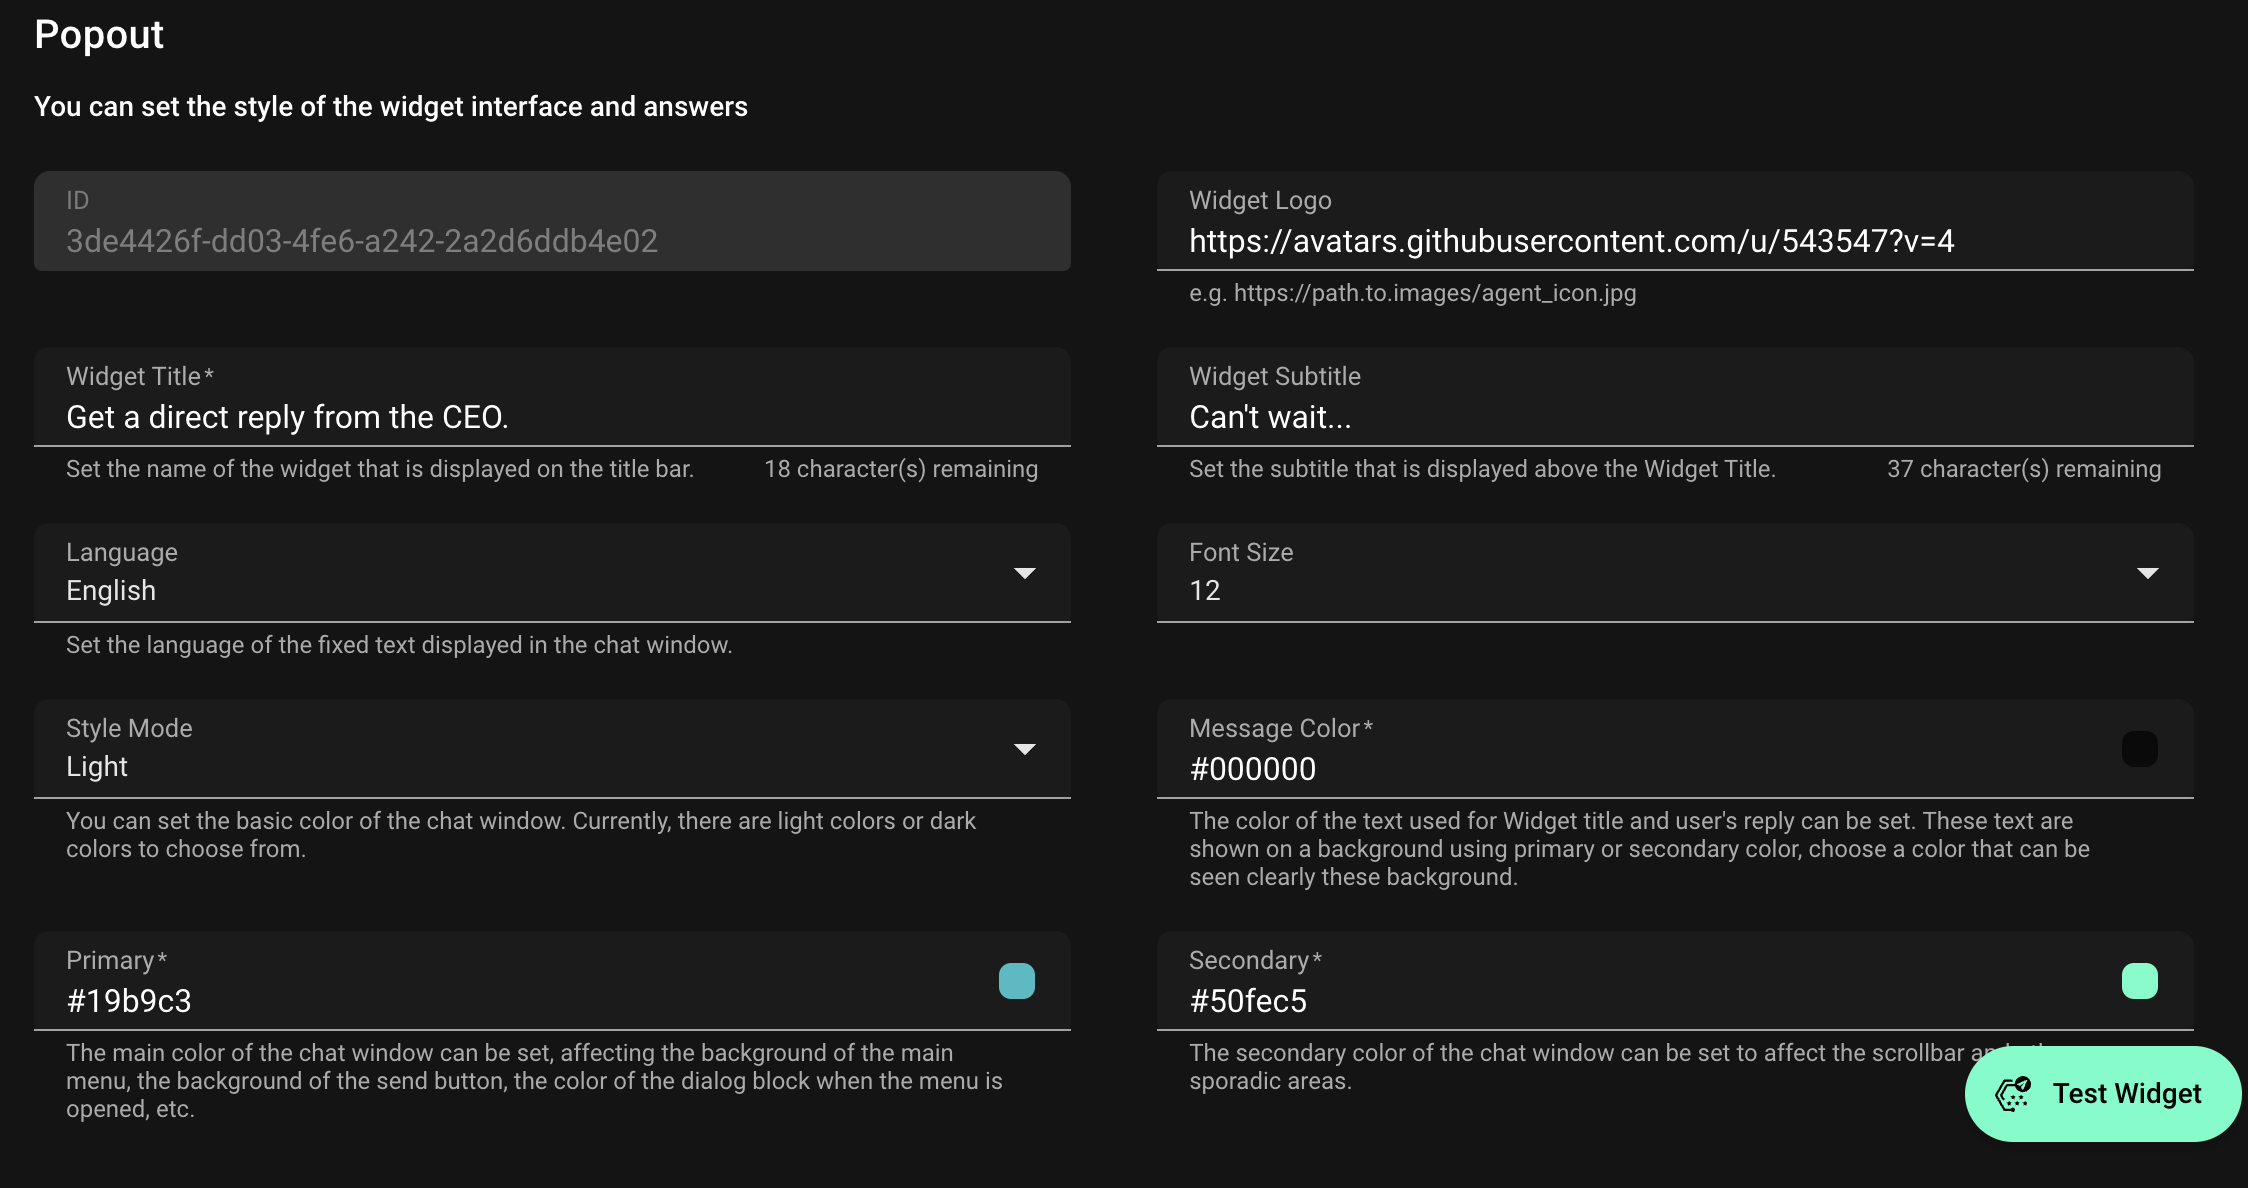
Customize the style of your popout chat
Scroll further on the same page to set up your chat. Make sure to provide a opening message to greet your customers when they start a chat with you via SeaX Messaging.
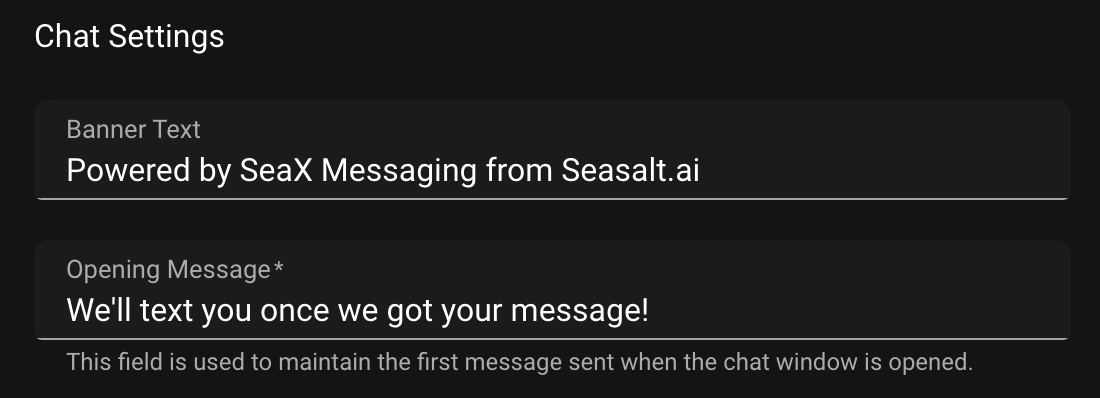
Chat setup
That’s it. Simply click on Preview window to see how your SeaX Widget will look like on your website or app. Once you are satisfied with the design, click on Save to apply the changes.
Preview your design
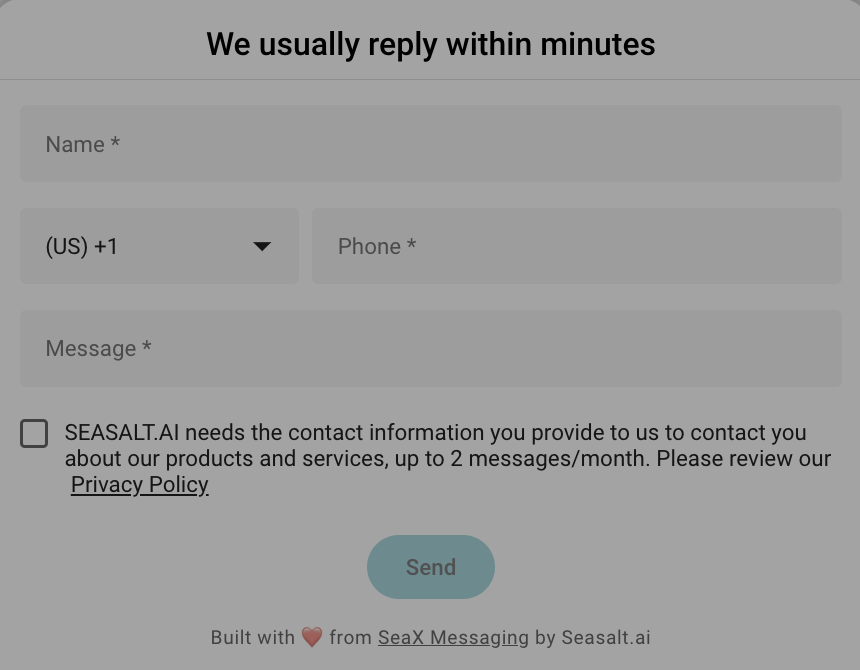
Custom Forms
Custom form is a powerful feature that allows you to collect information from your new customers before they start a chat with you via SeaX Messaging. You can create a form with different types of fields such as text, email, and phone number. SeaX Messaging will record these form responses as well the entire conversation history on SeaX Messaging. To create a custom form, click on Add New Form in the dashboard.
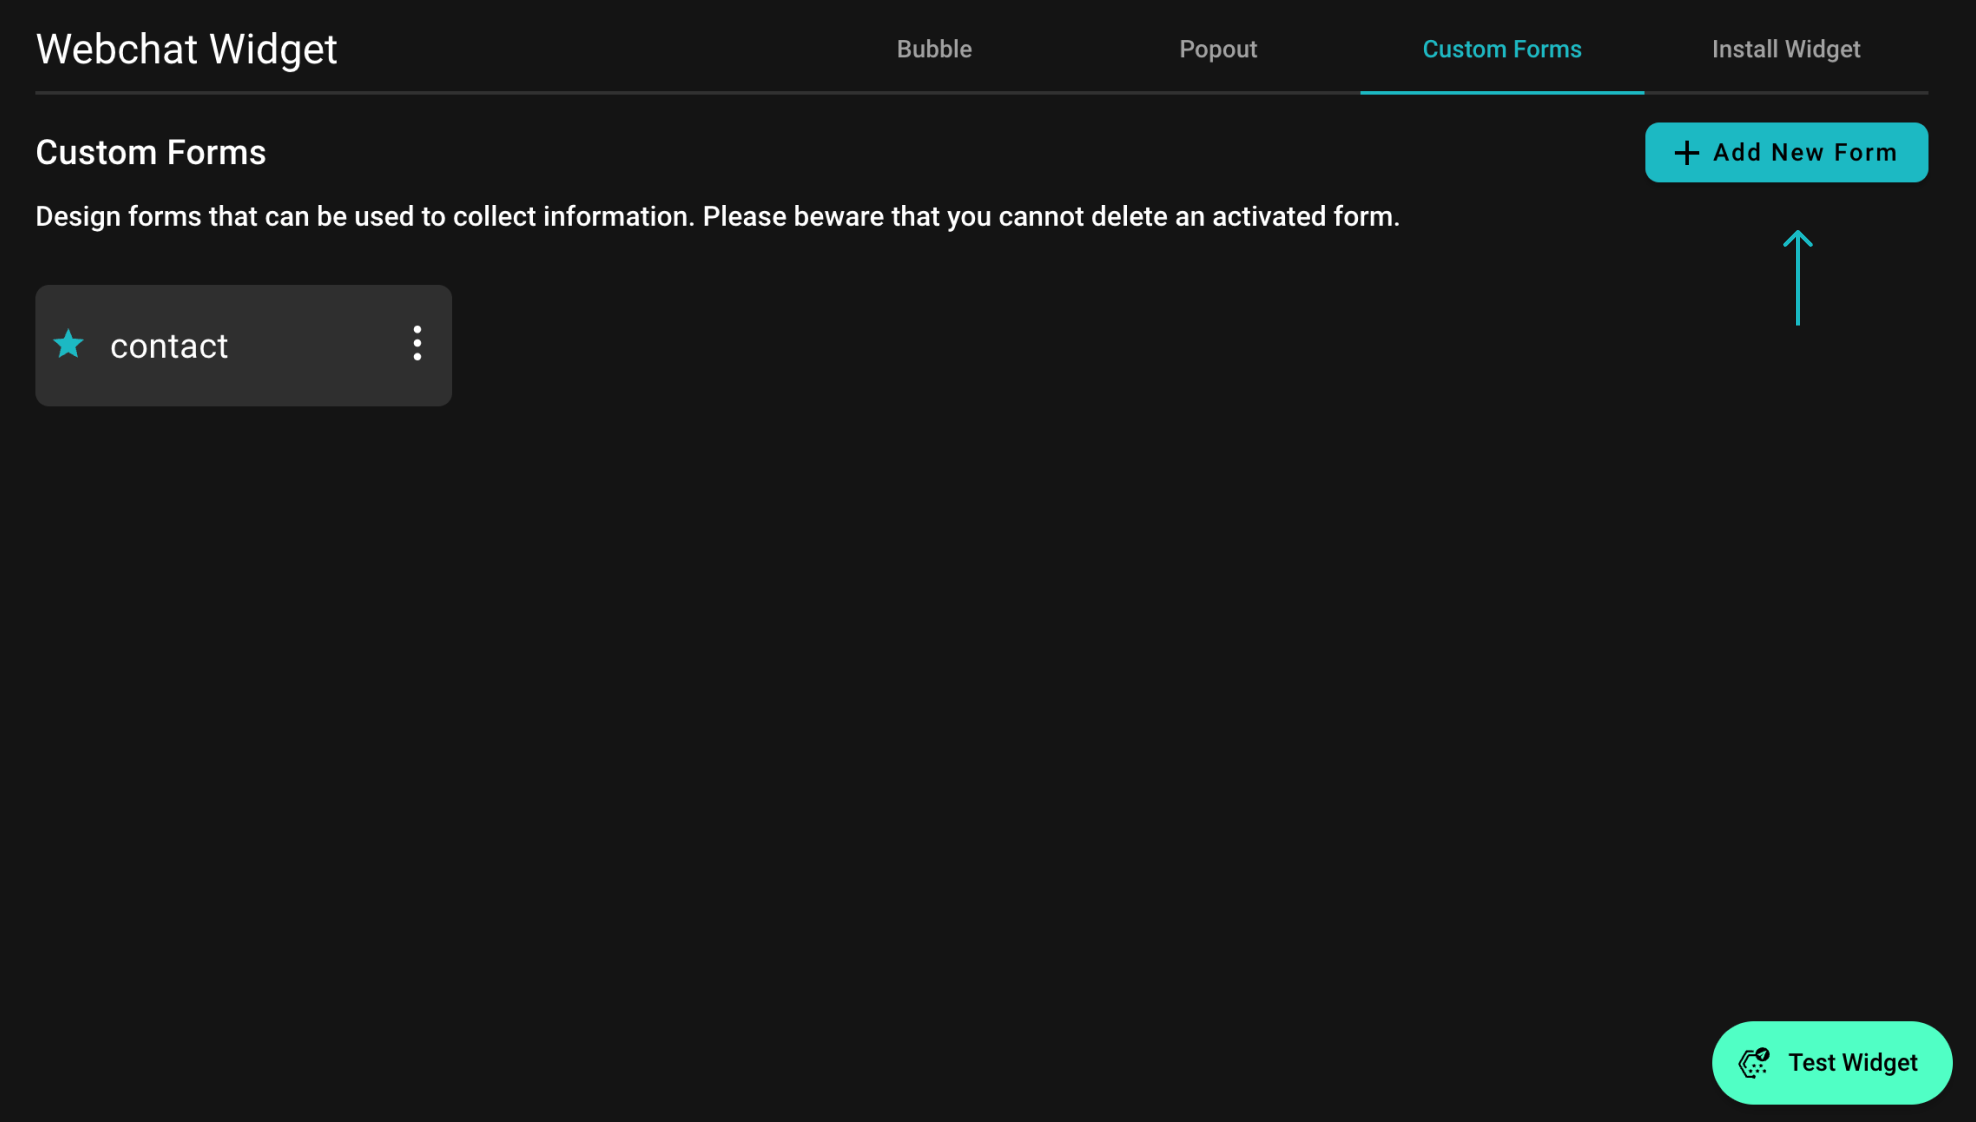
Customize the style of your custom forms
Set up Form
- Enable This Form - Turn on the switch to enable the form. Here you can also set the form’s name and the title that the user will see.
- Consent Checkbox - You can add a consent checkbox to your form. If you wish to redirect the user to the privacy policy page, you can add a link to the checkbox by enabling Add a URL.
- Submission Message - Customize the message that the user will see after submitting the form.
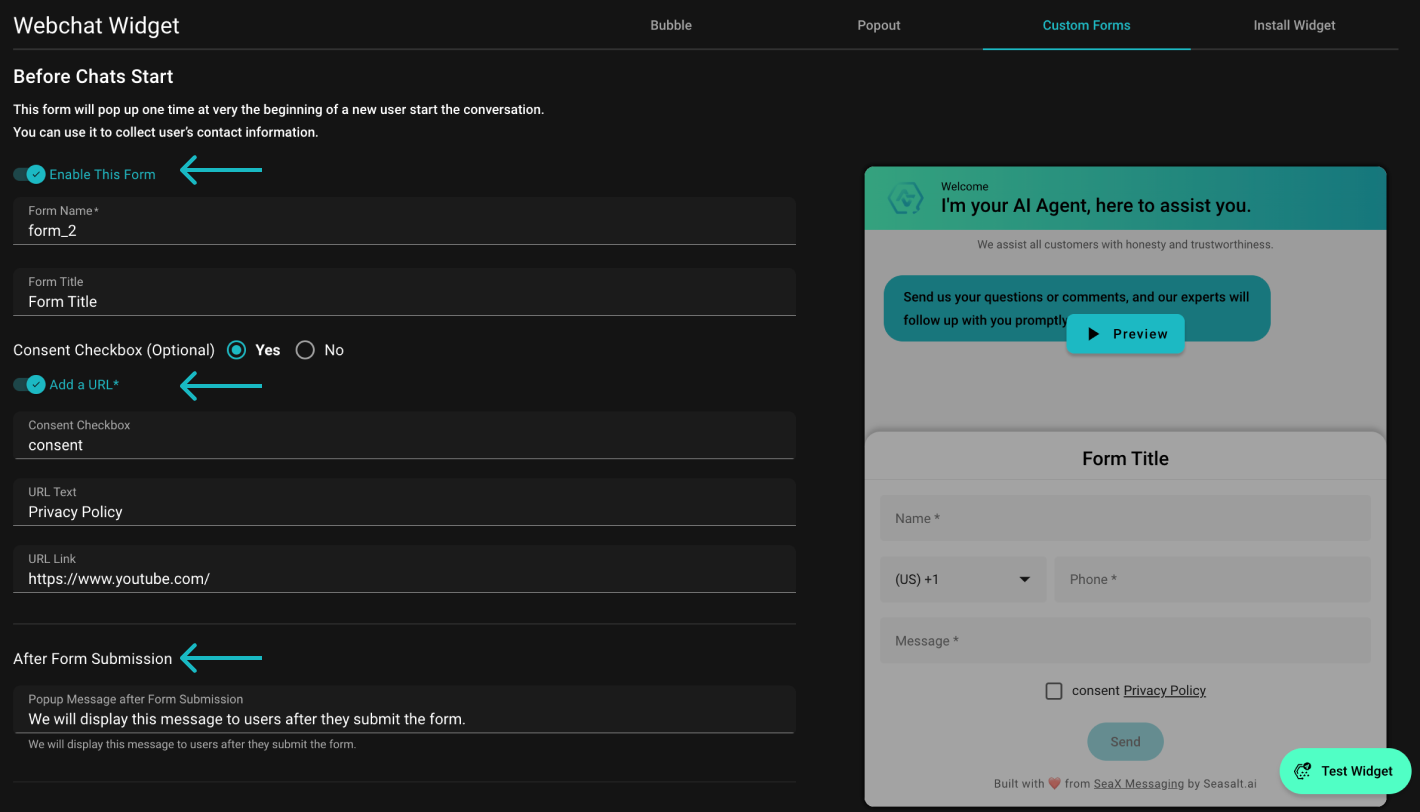
Custom form
Form Design
Set up the layout of your form. You can add different types of fields such as text, email, and phone number. You can allow different fields to be required or optional. You can also add a placeholder text to guide the user on what to input. If the default fields are not enough for you, you can add a custom field by clicking on Plus Button to insert additional field.
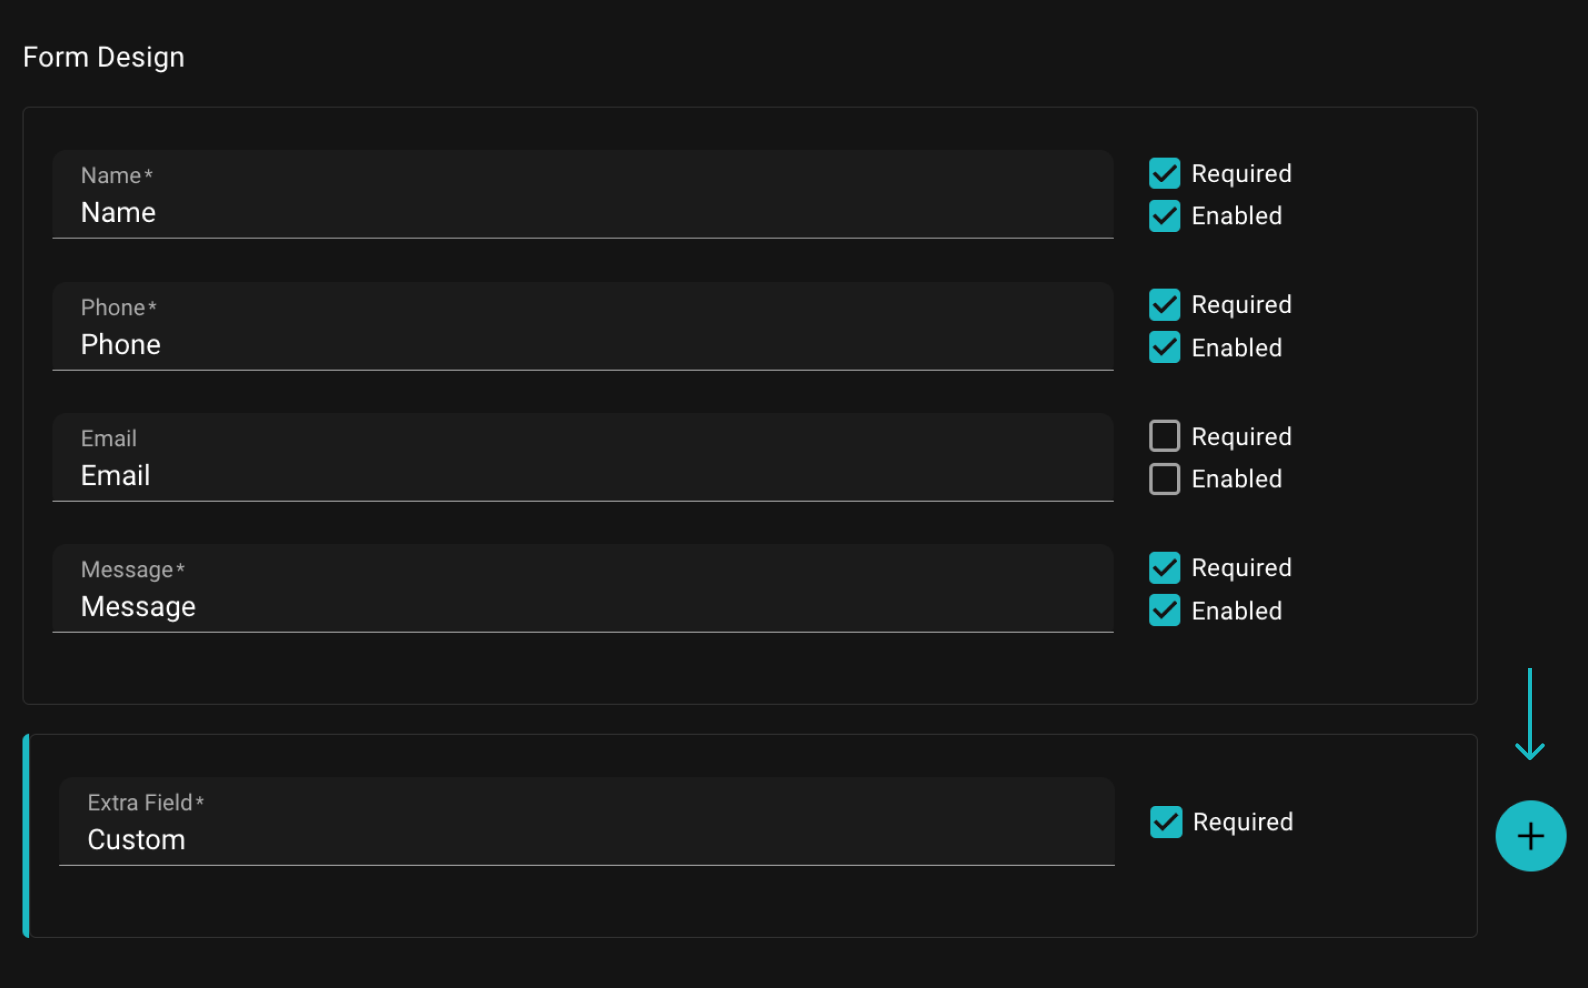
Design the input fields
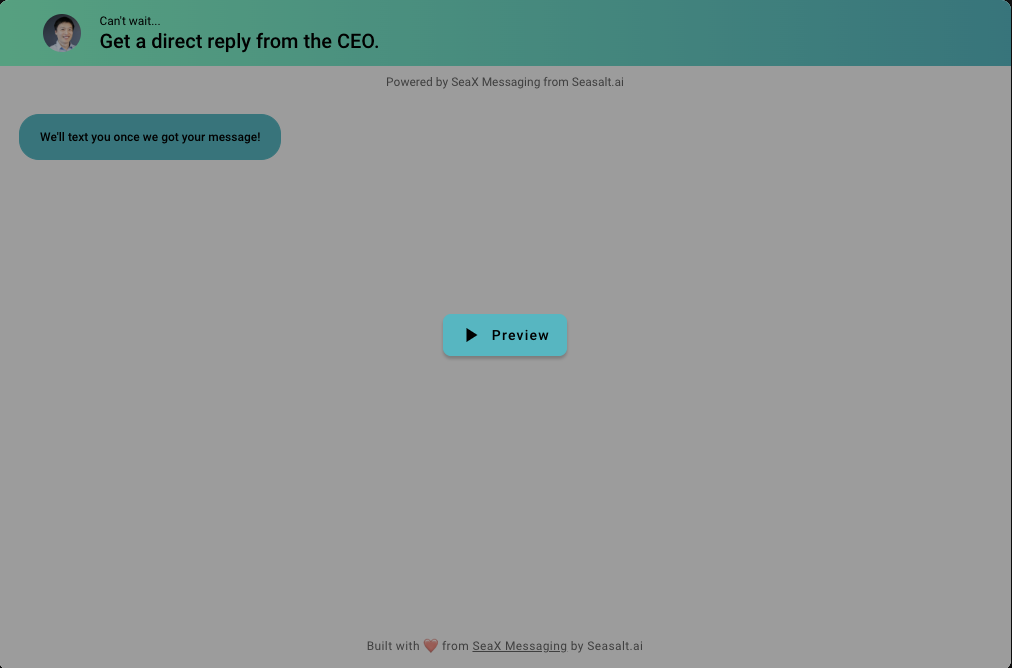
Once you are done setting up your form, click on Preview to load the latest updates, and if the form is good to go remember to click on Save to save your changes.
Preview custom form
📌 Note:
Please beware that you cannot delete an active form.
Installation
Now, all is left is to install the SeaX Widget on your website or app. You can do this by copying the code snippet provided in the Install Widget tab and pasting it at the end of the
tag of your website or app’s HTML code.- Find the body tag of your website or app’s HTML code.
<body> ... insert code right before the end </body>
- Paste the code snippet provided in the Install Widget tab at the end of the body tag.
Example:
<div id="messaging-webchat-tooltip"><div id="messaging-webchat-tooltip--inner"></div></div>
<button id="messaging-webchat-btn"></button>
<iframe id="messaging-webchat" src="https://seax.seasalt.ai/form/3de4426f-dd03-4fe6-a242-2a2d6ddb4e02"></iframe>
<style>
  /* Add your custom CSS here */
</style>
<script>
    var script = document.createElement('script');
    script.src = "https://seax.seasalt.ai/messaging/installWidget.js";
    script.onload = function() {
        init("https://seax.seasalt.ai",  "3de4426f-dd03-4fe6-a242-2a2d6ddb4e02");
    };
    document.head.appendChild(script);
</script>
By now you should notice the SeaX widget that is in the bottom-right corner of the page of Install Widget. Click on the widget to try out the chat interface that we have just built. That’s it! You have successfully set up the SeaX Widget on your website or app.
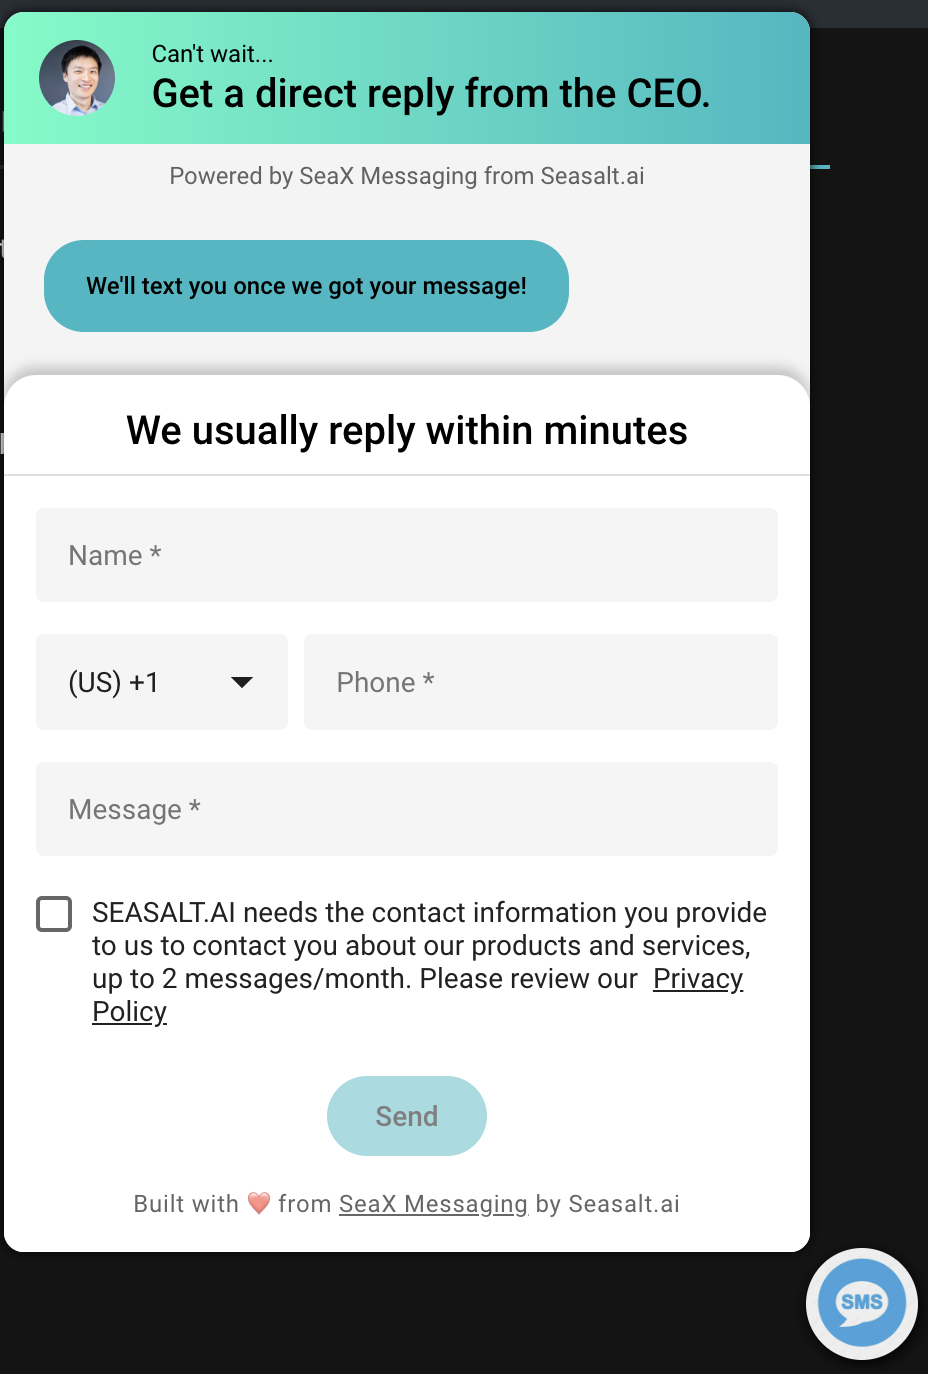
Preview widget
Test SeaX Widget
To properly test the widget, we recommend using the Test Widget button in the lower right hand corner on your SeaX Messaging dashboard. This will allow you to test the widget on your website or app without having to install it.
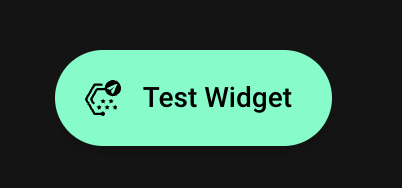
Test SeaX widget interface