Workspace Management
Workspace is the control center of all your agents and members. Let’s first navigate to the section under Workspace to find all the features that we will cover in this article.
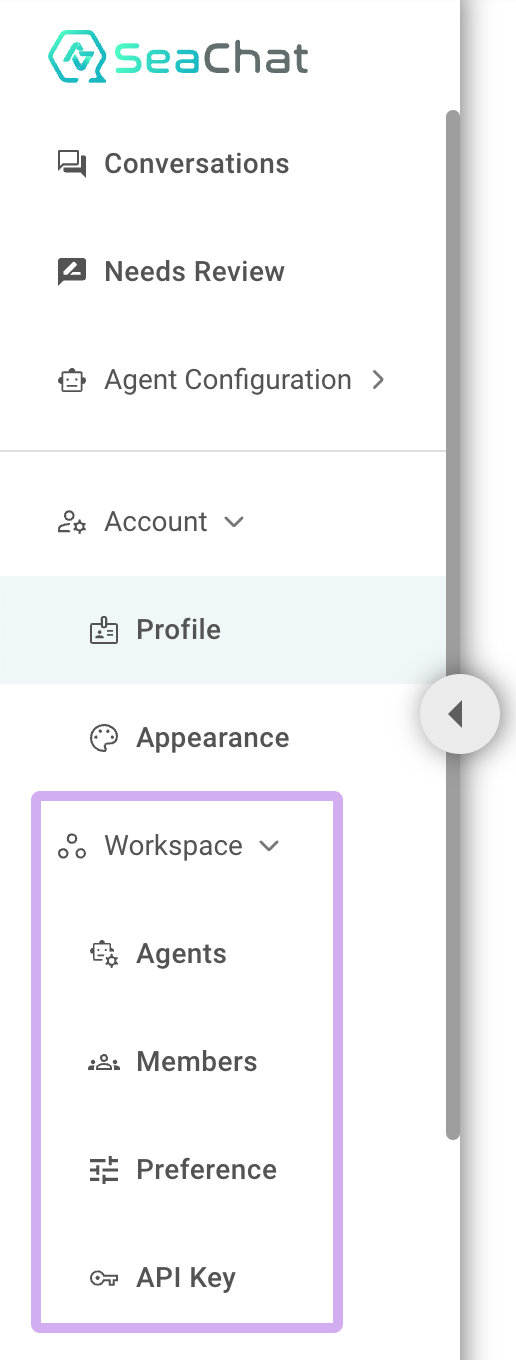
Workspace in Sidebar Menu
Agents

Agent Management
This is where you can manage all your AI agents. Each row represents an agent and its name, email, and status. You can also see the number of unread messages. Find the URL to the agent conversation, launch the conversation directly, or add new agents here.
Members

Members Management
There are different types of members. Depending on the type of membership, members will have different access and permissions. If you are the owner of a workspace, you can add new members to your workspace and assign different roles to them. Here are some of the roles you can assign to a member:
- Admin: Admins have full access to the workspace and can manage all the settings. They can edit the AI agents' settings, manage the knowledge base, access the agent conversation, and take over conversations as human agents.
- AI Agent Editor: AI Agent Editors can edit the AI agents' settings, manage the knowledge base, and access the agent conversation and testing.
- Human Agent: Human Agents can access the agent conversation and take over conversations as human agents.
Membership Assignment

Member Settings
You can assign different agents to different members. For instance, a good practice is assigning the testing agents to your AI agent editors and agents in production to your human agents. Admins can access both types of agents for monitoring and control.
🤖 Agents vs. 👨 Members
We use the word “agent” and “bot” interchangeably in this document. As you can see, most URL parameters use “bot” while the writeup most of the time uses “agent”.
Seasalt.ai is adding more reasoning and execution functionalities to the normal “chatbot”, thus why we prefer to use the word “agent” rather than “bot”, meaning that an agent can execute things than a bot.
However, “agent” can be confused with a human in the context of “live agent” or “human agent”. In these situations we’ll use “AI agent” to refer to autonomous agents and “live agent” to refer to a live human.
On the other hand, members can only mean real human members.
Workspace Preferences
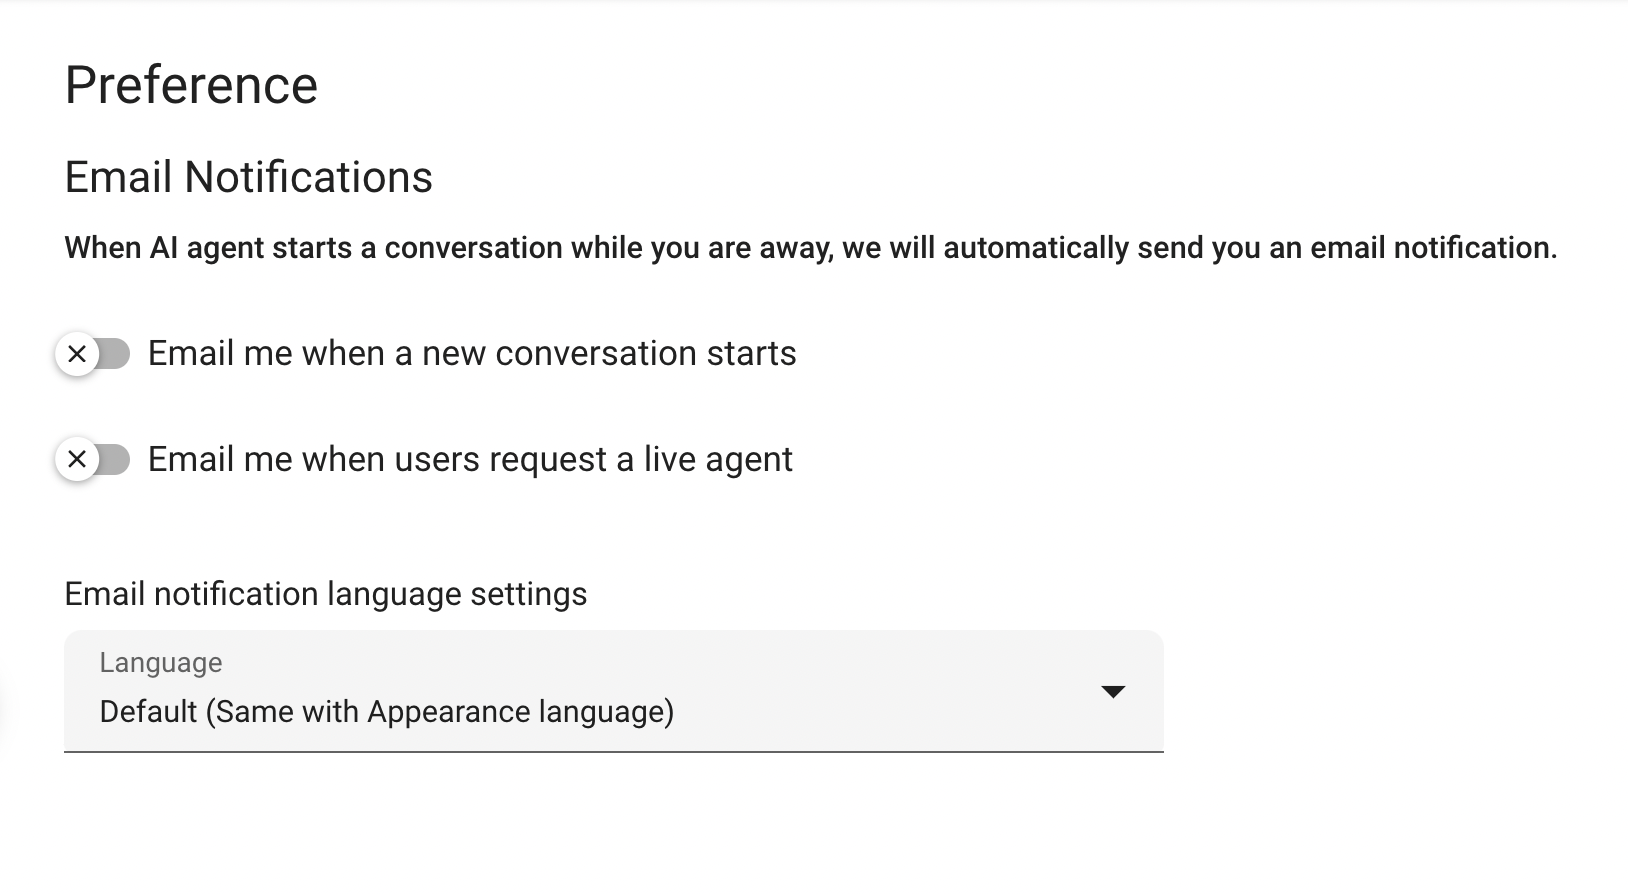
Preference Settings
Here is where you can manage the notification settings of your workspace. SeaChat can automatically send you emails to notify you about new conversations and new live agent requests. After enabling the types of notifications you want to receive, you can also set the language of the notifications.
Notification Settings
SeaChat provides notifications in different languages. You can choose the language you want to receive the notifications in. Although you can set the language to default (same as the appearance language), we recommend setting it to the language you use in conversations. This helps optimize the performance of the agent and speeds up operations.
Workspace API Keys
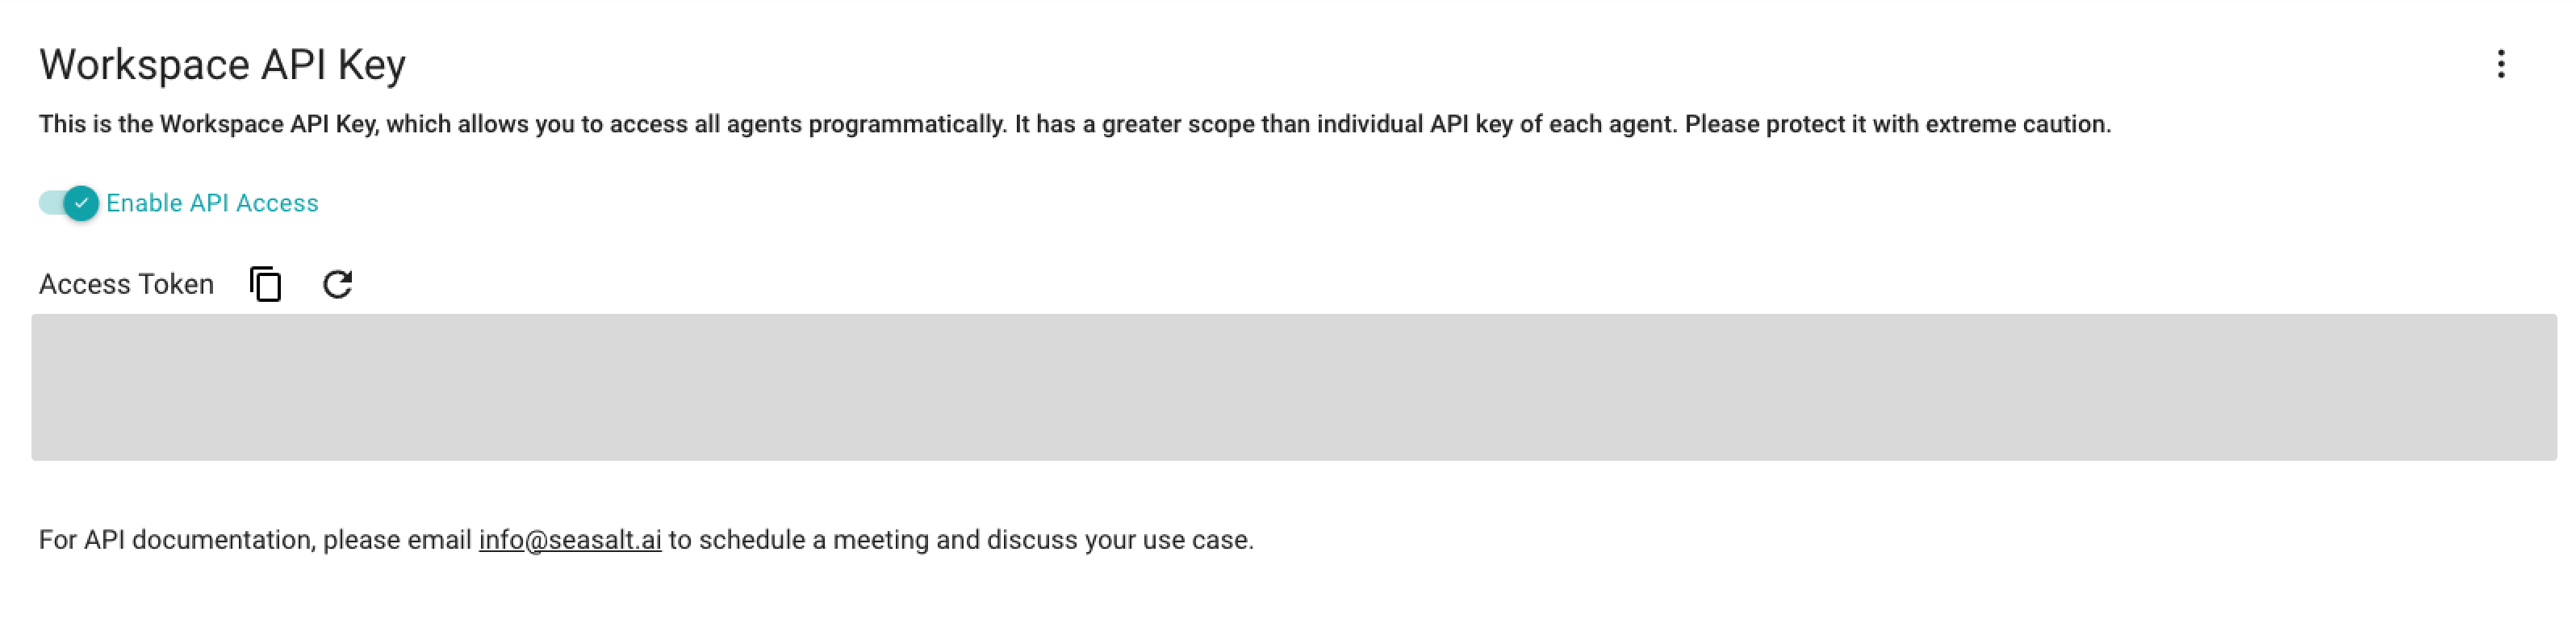
SeaChat Workspace API
If you wish to access your workspaces or agents programmatically, you can use the API key found under your Workspace. You can generate new API keys, view the existing ones, and delete them here. Please make sure to set up the following two prerequisites before using the API key:
- Workspace Creation: If you haven’t already, create a workspace in SeaChat and note down the workspace ID from the URL, which follows the format:
https://chat.seasalt.ai/gpt/workspace/{workspace-id}/bot/{bot-id}/. - Access Credentials: Obtain your Client ID and Access Token by reaching out to seachat@seasalt.ai. These credentials are essential for authenticating your API requests. This is where you can apply the access token in the API Keys section of your workspace settings.
SeaChat API uses Bearer Authentication methods. Therefore, you must apply your bearer token in the header of your API requests. For example, if you are using curl, you can use the following code snippet to authenticate your API requests:
curl -X 'POST' \
  'https://chat.seasalt.ai/api/v1/public/bots' \
  -H 'accept: application/json' \
  -H 'Authorization: Bearer [access token]' \
  -H 'Content-Type: application/json' \
  -d '{
    "workspace_id": "XXXXX-XXX-XXXXXXXXX",
    "name": "SeaChat",
    "description": "string",
    "use_case": "Customer Service",
    "live_agent_transfer": false,
    "default_response_language": "default",
    "is_enabled": true
  }'
SeaChat API is an in-depth tool that allows you to access your workspace and agents programmatically. You can use the API to create new AI agents, manage existing agents, and access the conversation history. For more information on the SeaChat API, please refer to the API documentation. Or contact us at seachat@seasalt.ai
Multiple Workspaces
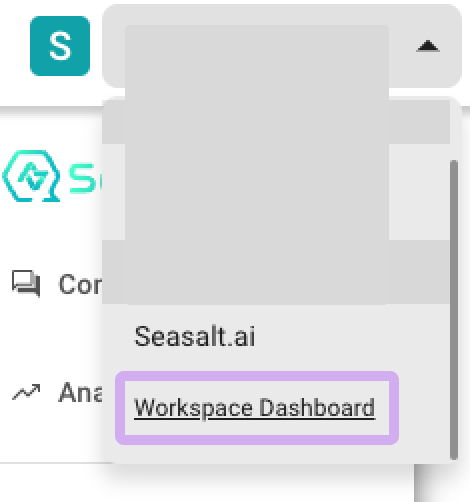
The concept of workspace is meant to represent a team of AI agents and members. Under a workspace, you can have multiple AI agents and members. If you are part of multiple workspaces, you can switch between them by clicking on the workspace name in the top left corner of the screen or simply go to Workspace Dashboard to manage them.
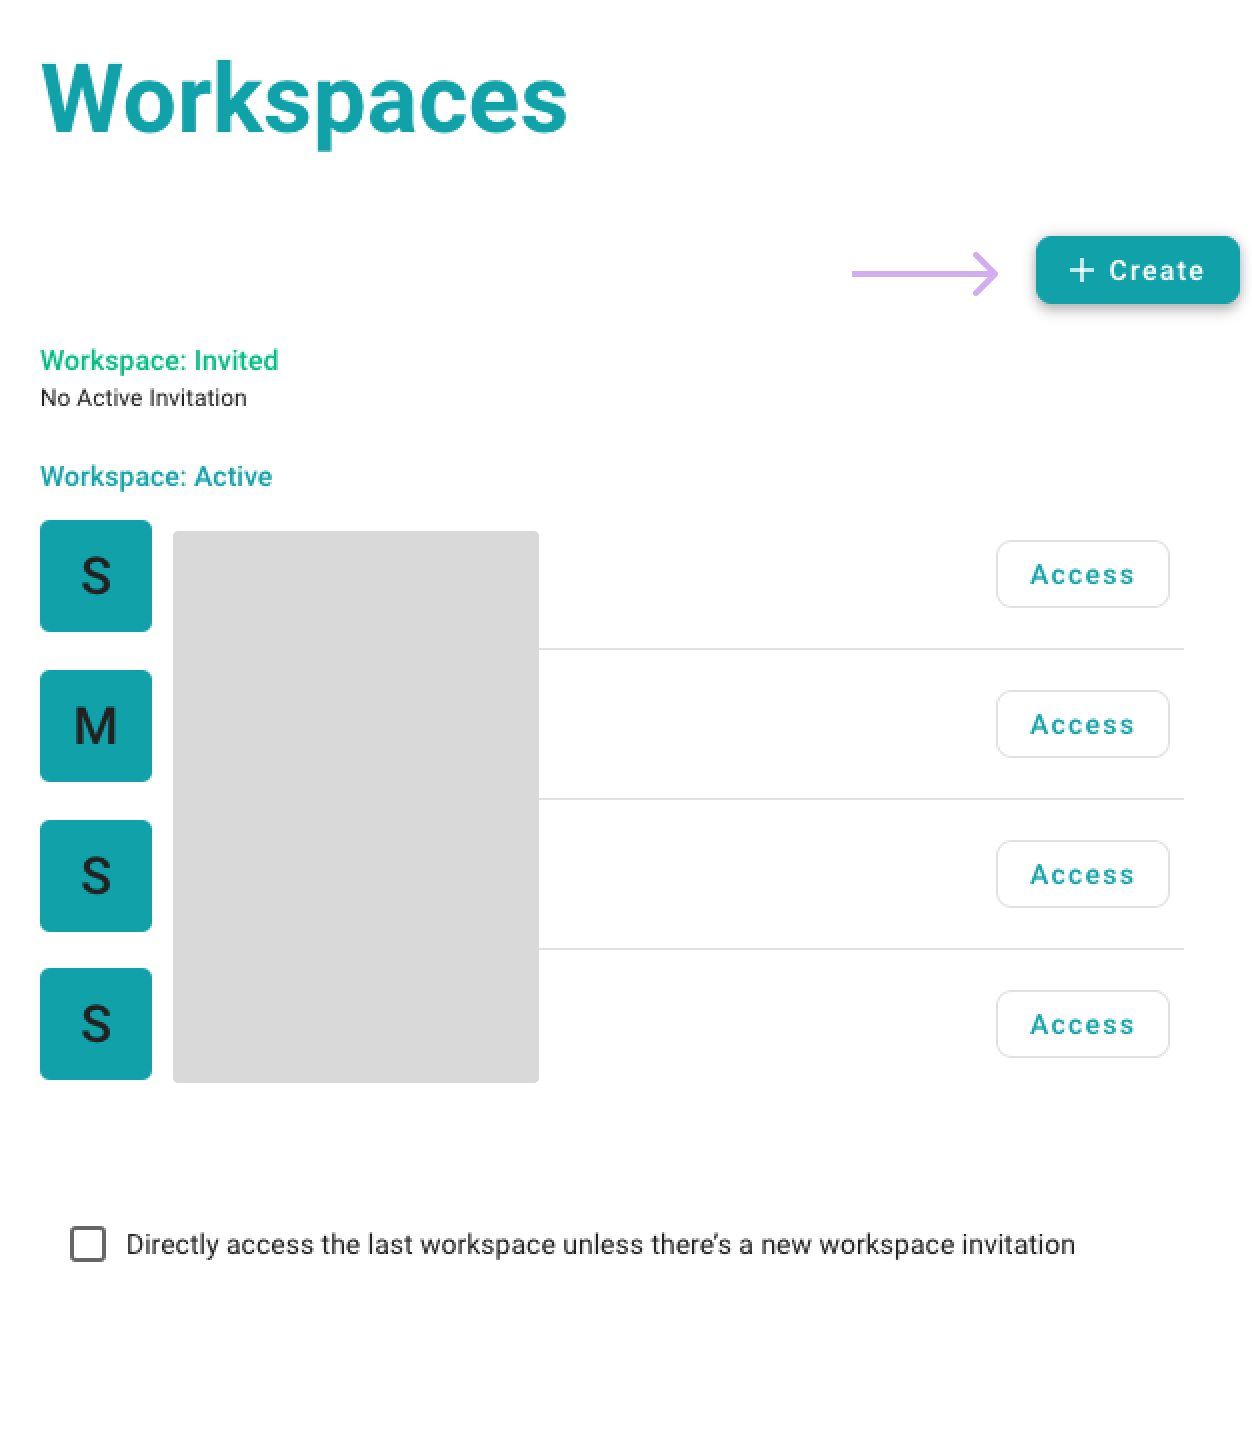
Navigate to Workspace
Once you are in the workspace dashboard, you can access all your workspaces. If you wish to create a new workspace, you can do so by clicking on the Create button.
Creating a New Workspace
You can build multiple AI agents in a workspace, each with different use cases, languages, and agent descriptions. These AI agents can then serve different clients in different channels or integrations under a single workspaces. A practical example to utilize the multiple workspace feature is in testing and development of new agents. You might want to create a separate workspace for testing and development, and another for production. This way, you can test new agents without affecting the production environment.
Workspace Limits
Different plans have different limits on the number of workspaces you can create. If you have reached the limit, you can upgrade your plan to create more workspaces. If you have any questions about the pricing, please refer to Pricing and Plans.
Here are the numbers of workspaces you can create based on the plan you are subscribed to:
- Free - 1 workspace
- Standard - 1 workspace
- Premium - 2 workspaces
- Enterprise - multiple workspaces