Create New Agent
How to Create a New Agent
If this is your first time using SeaChat, you will need to create a new agent. After creating your workspace or being invited to one, SeaChat will take you to the agent creation page. There are a lot of things to consider when creating an agent, and we suggest you to read more on Agent Information to understand the basic settings of your AI agent.
You may want to create a new agent for different use cases, languages, or different agent description. SeaChat allows users to create an agent from scratch or to utilize predefined use cases. Now, let’s see how we can create a new agent using the two different methods.
First, let’s start by using the Add New Agent button located next to your avatar.
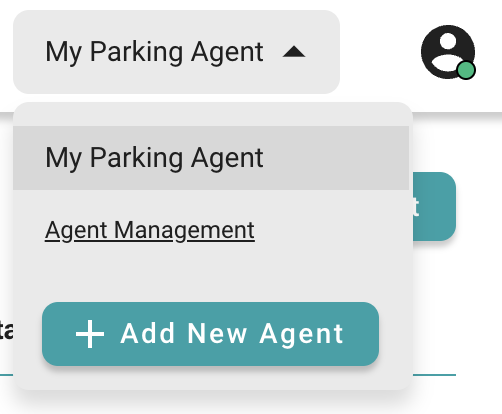
Create a New Agent Shortcut
Agent Creation Setup
Before we can start with the agent configuration, we have to first choose the method of creating the agent. You can either create an agent from scratch or pick a use case that suits your agent’s purpose.

Choose Agent Creation Method
Name and Response Language
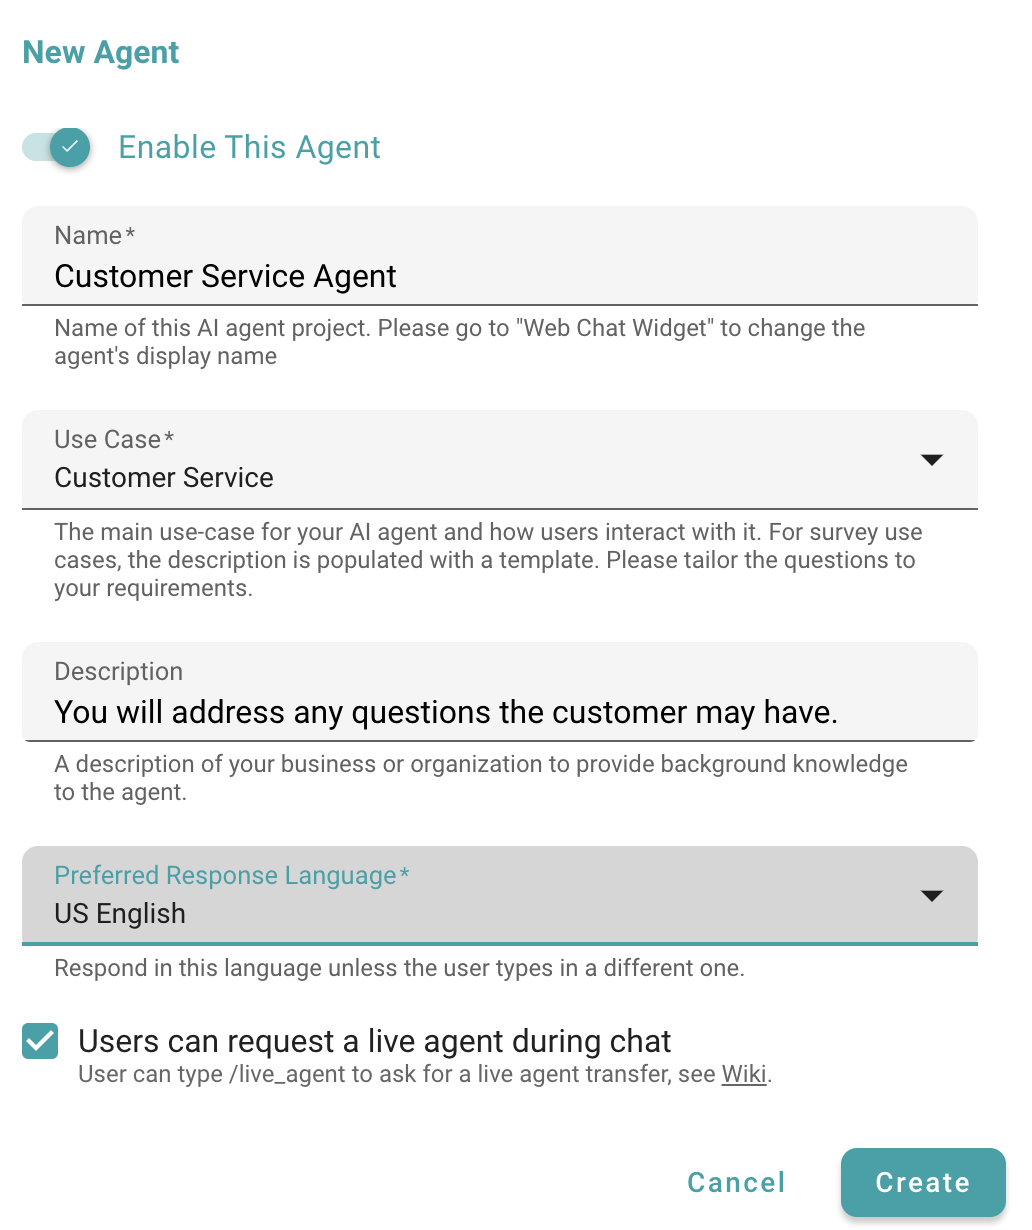
Pick a name for your agent. You can pick a name that describes the task that the agent will be responsible for. For example, I have an agent with a very straightforward name, Customer Service Agent. Note that this name is for internal use. If you want to change the agent name on Webchat Widget, please go to Webchat Widget setting.
In Preferred Response Language, pick a language that the agent will use to answer to your customer. I pick US English for the purpose of this tutorial. If you want your agent to be multilingual, you can choose “Always match user input language”.
Live Agent
Finally, you can enable live agent by checking the Users can request a live agent during chat.
Use Case and Description
Depending on your choice of method to create an agent, your setup for the agent will be slightly different.
Generally, your choice of use case will come with a suitable prompt designed by the SeaChat team for that specific scenario. Our predefined prompt will help train the AI agent to understand its primary task in a conversation. Additionally, the description field is used to provide supplemental information. In this field, you will describe your business and give more details about the agent. Together, the base prompt provided with the use case and the information in the description field will form the complete prompt for the AI agent.
We will look into the difference in these two methods below:
Custom AI Agent: Start from Scratch
If you want to configure your agent with an existing prompt description or create a brand-new definition, you may choose to start from scratch, as this gives you full control to customize your prompt. For users who already have instructions, this is the best approach.
First, choose a use case for your agent, and then input the description that defines your agent’s behavior. Once you have completed the setup, click on Create to finish the process.
Create an AI Agent from Scratch
Click to Start: Pick a Use Case
A use case can help you quickly set up your agent and start your conversation. Choose a use case that suits your agent’s purpose, and then define your agent’s description.
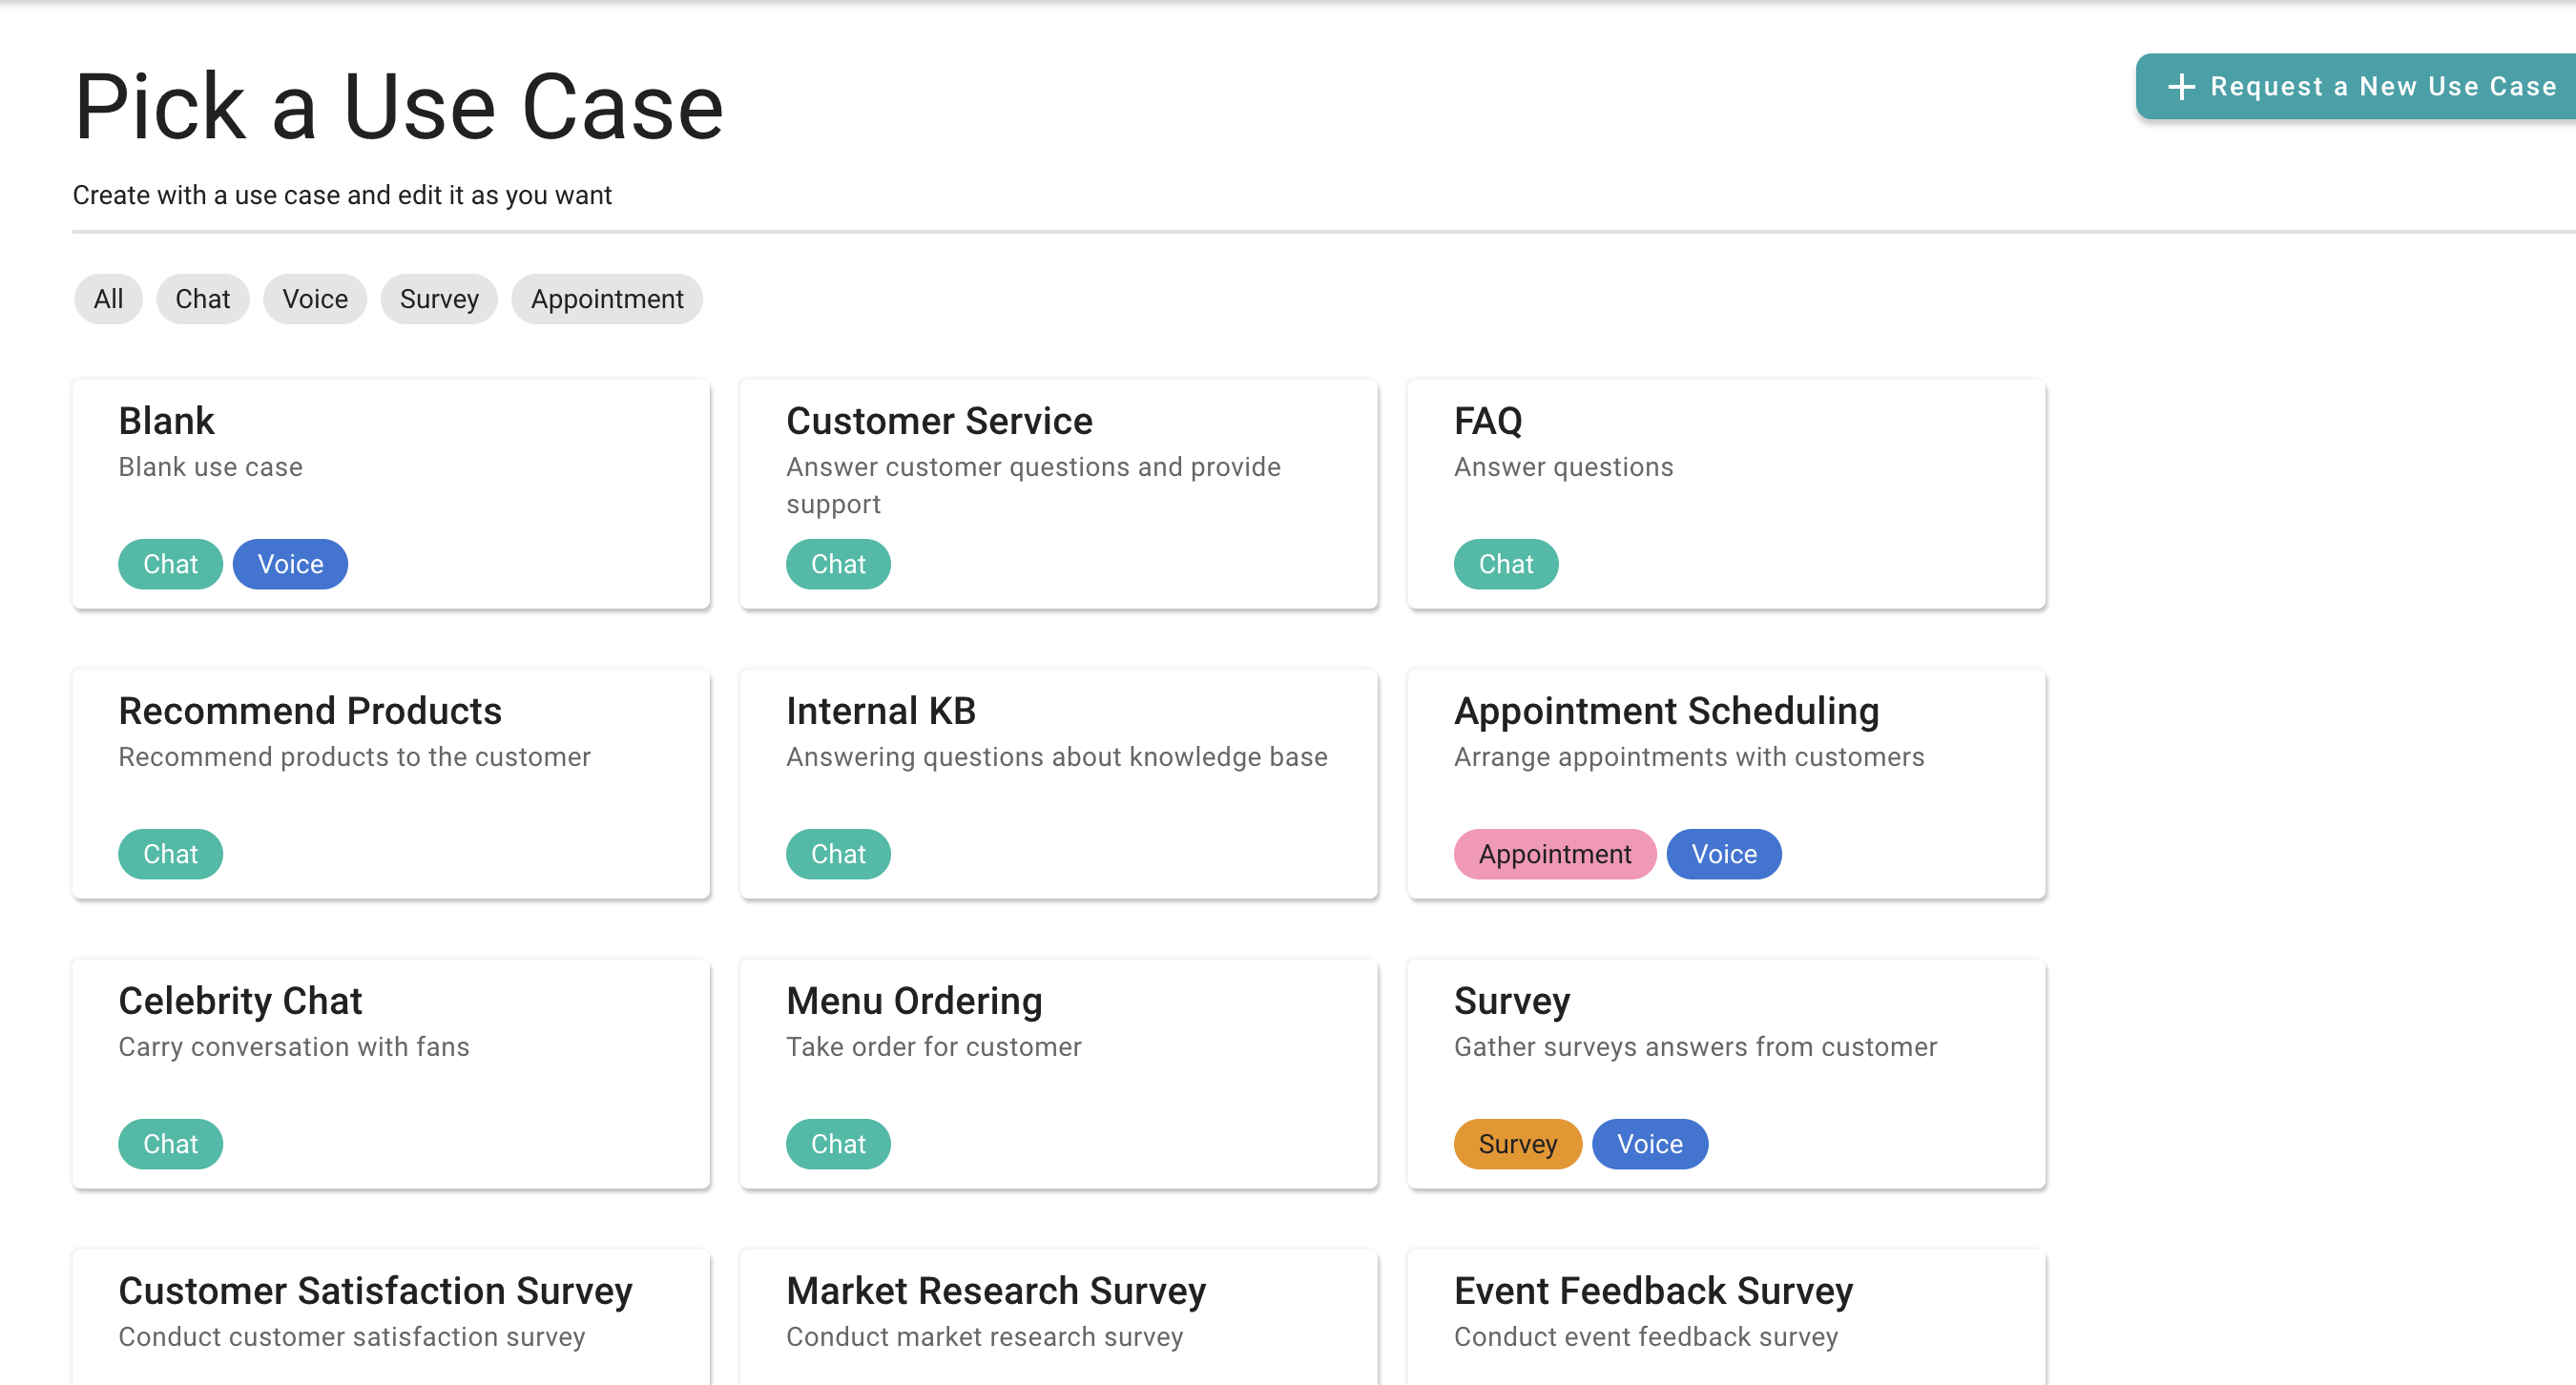
Pick a Use Case
Unlike starting from scratch, a use case comes with predefined instructions prepared by SeaChat. You can enter your own description, which will be appended to these instructions. This way, you can provide context to your agent along with the predefined instructions.
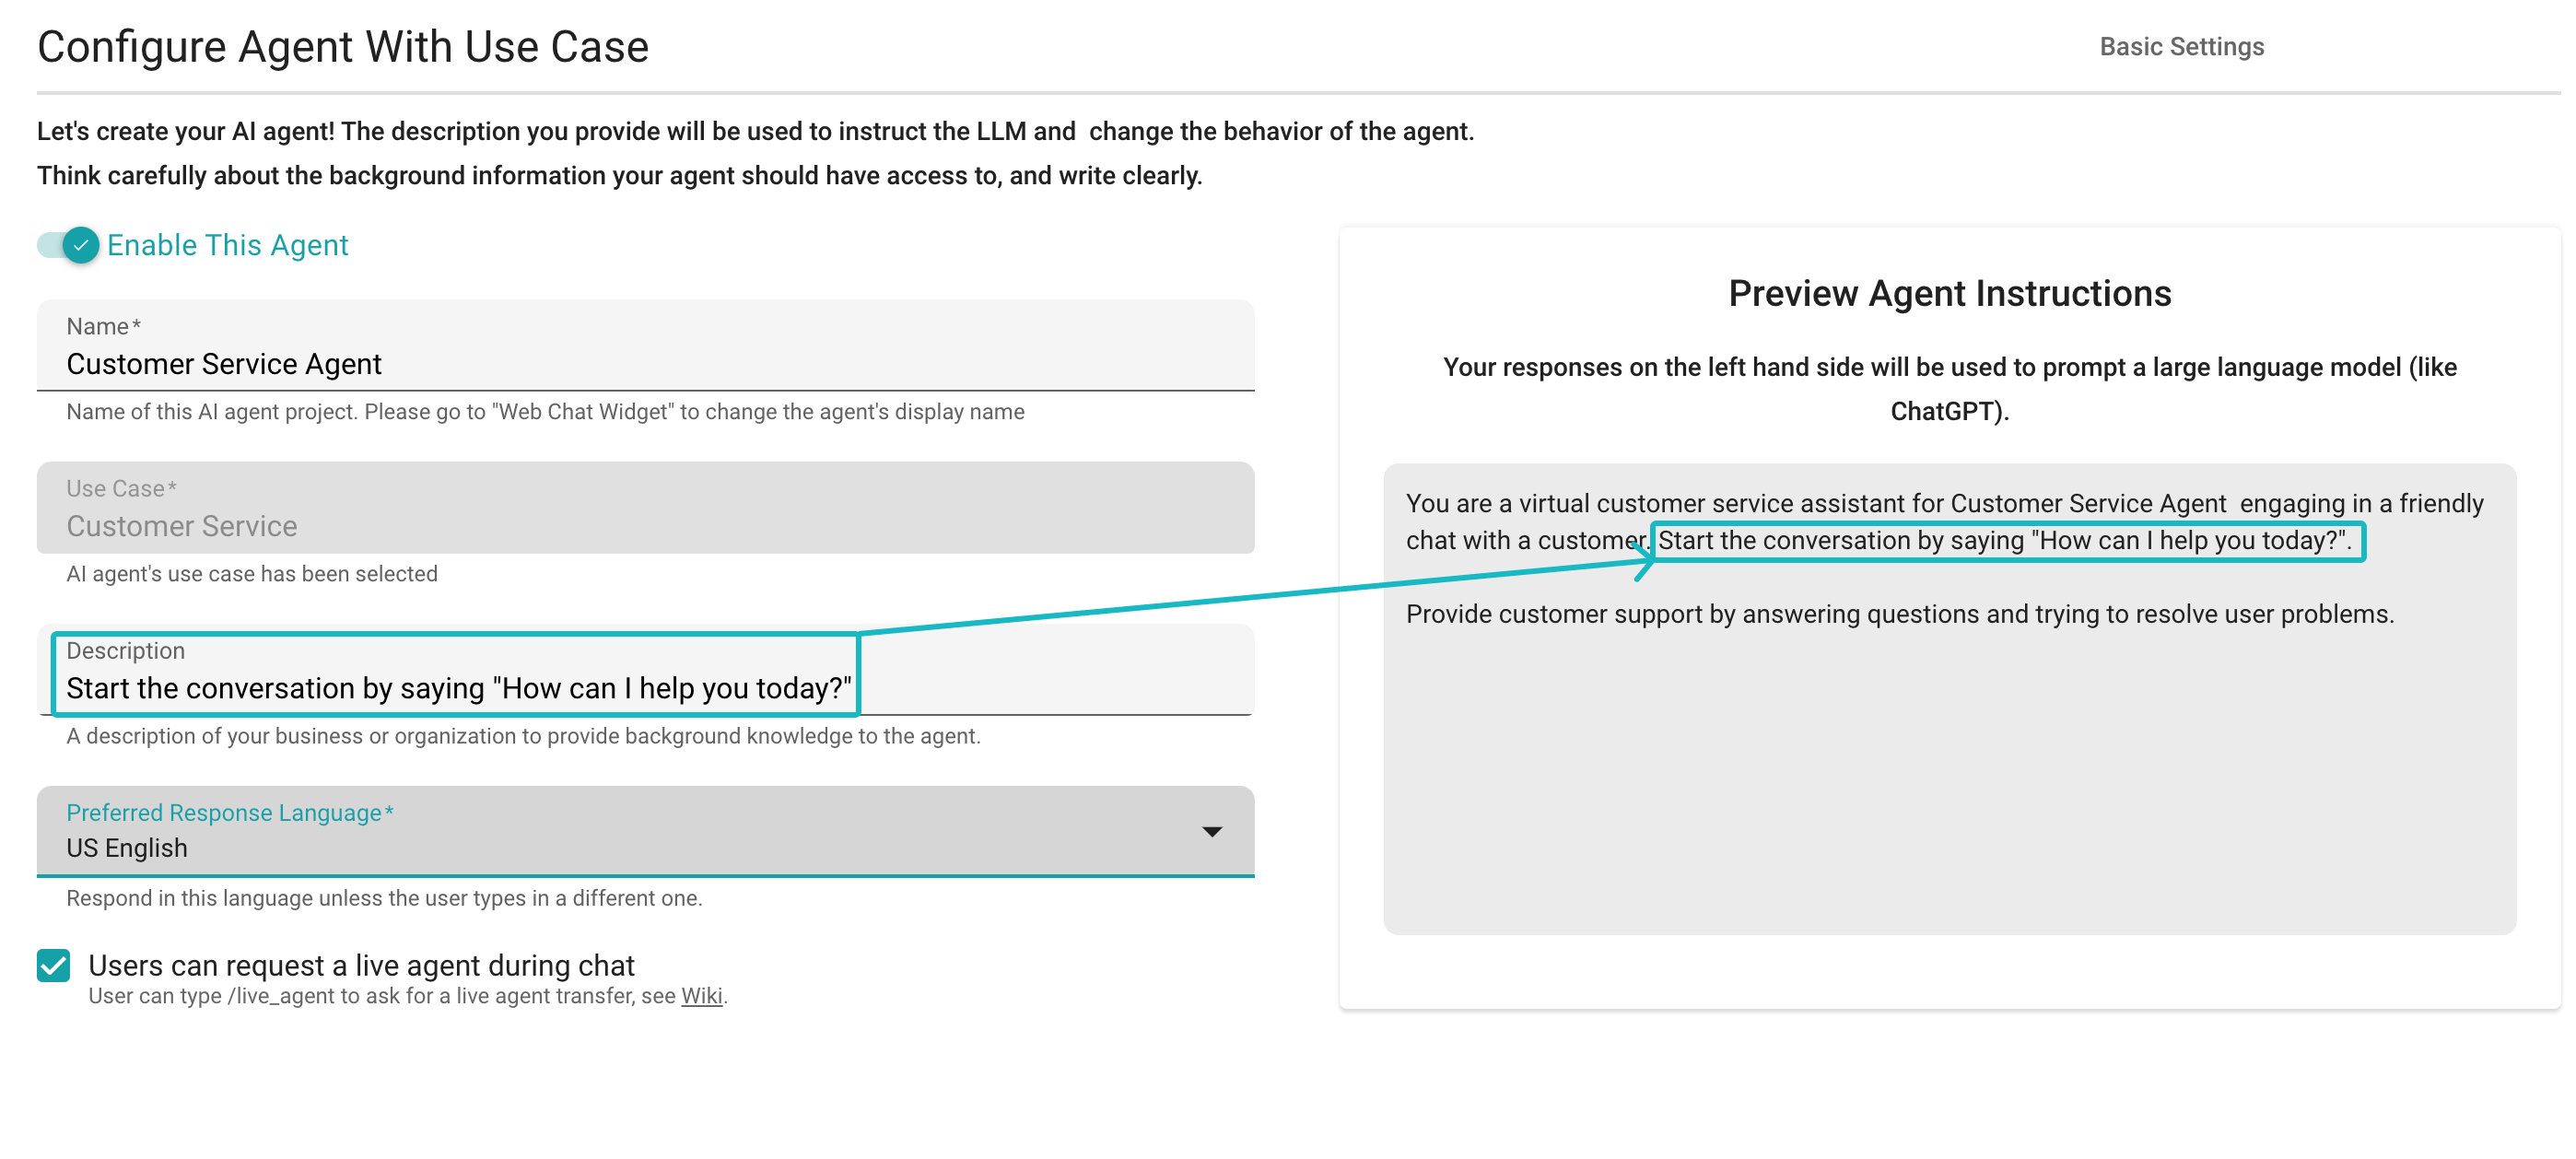
Define Agent Description